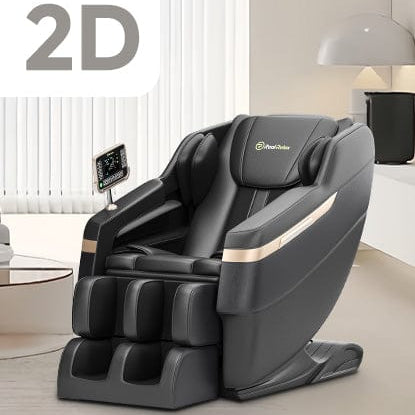
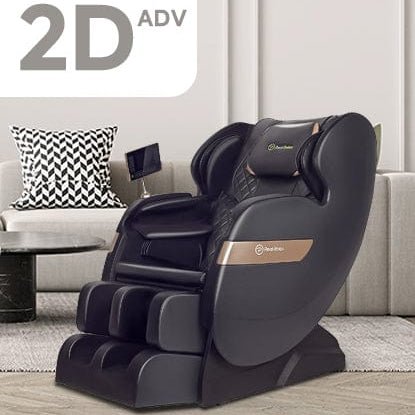
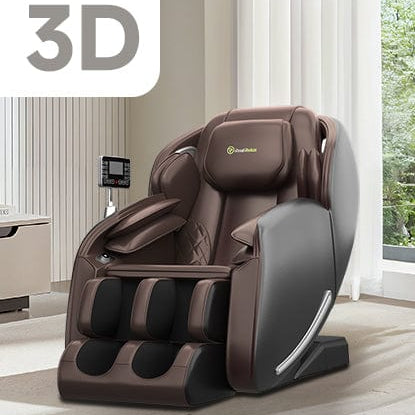
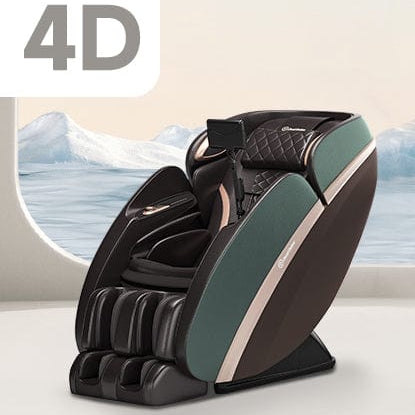
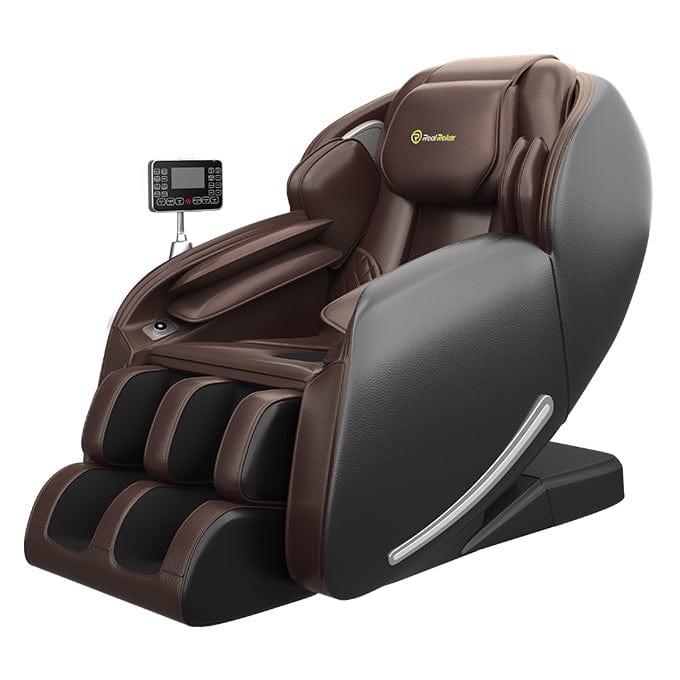
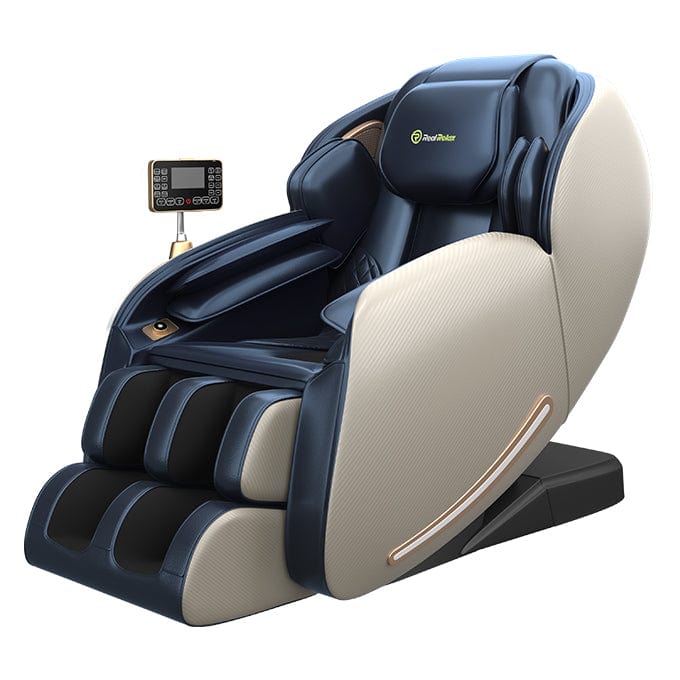
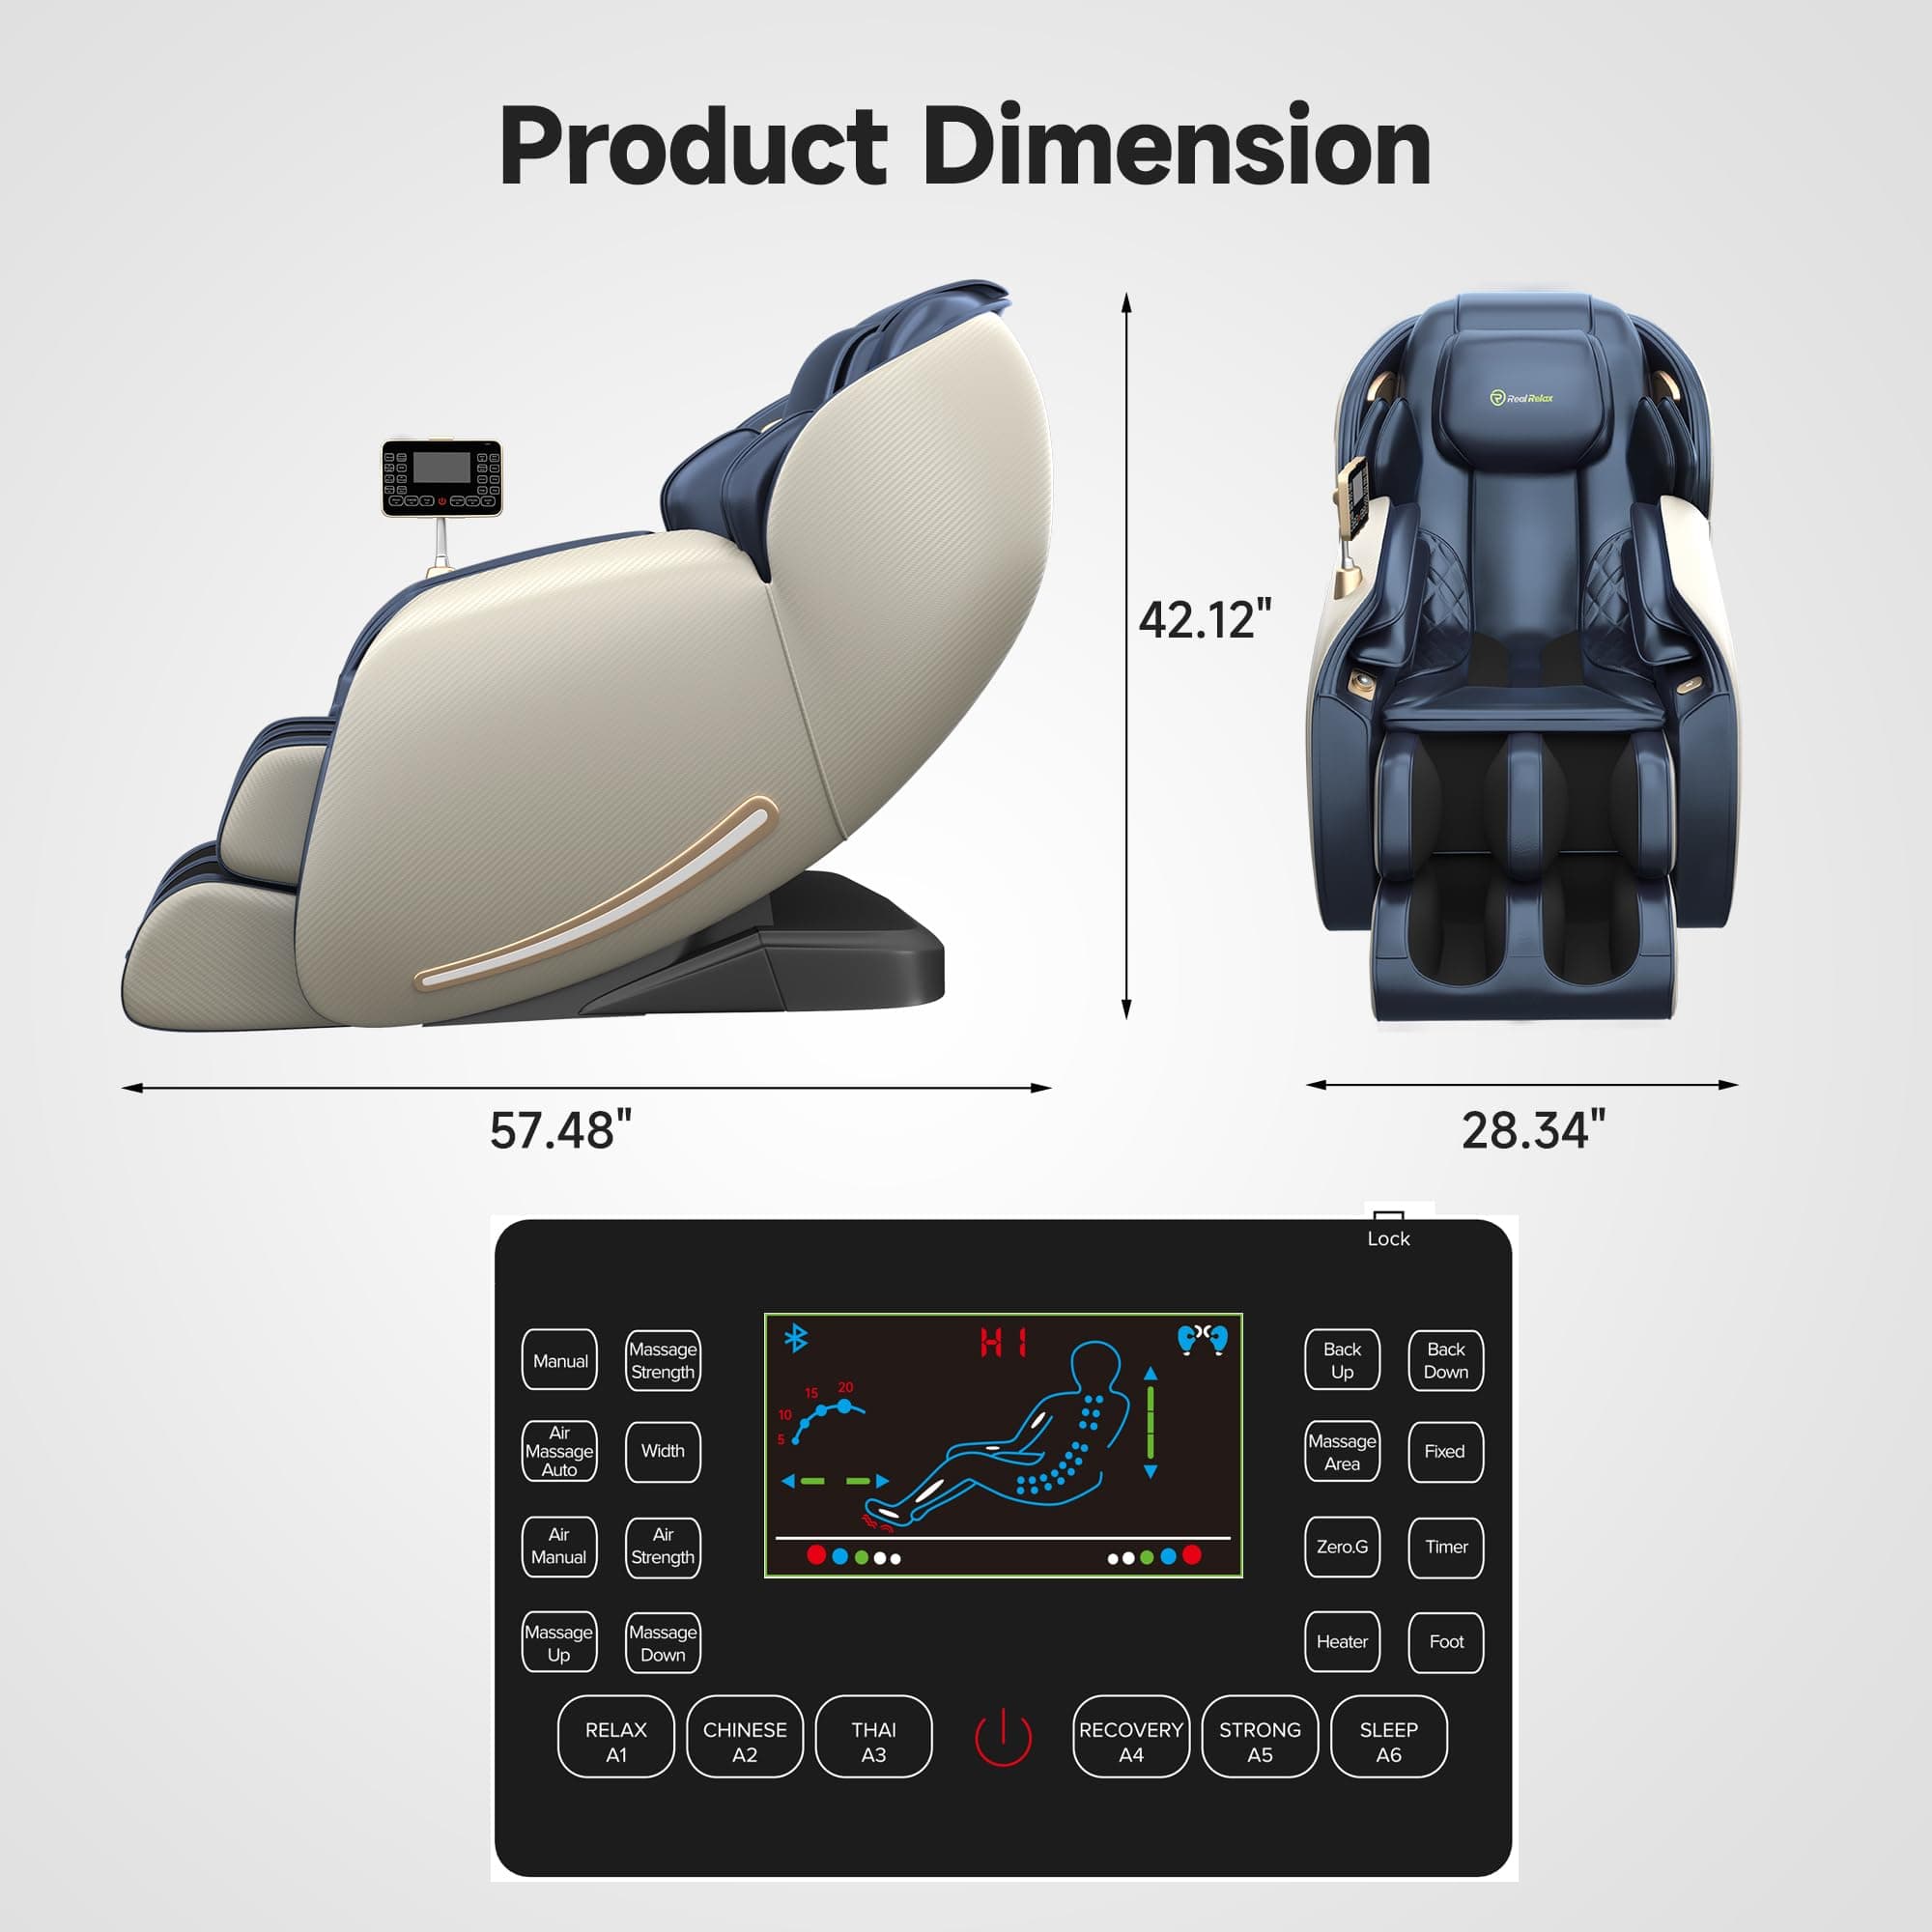
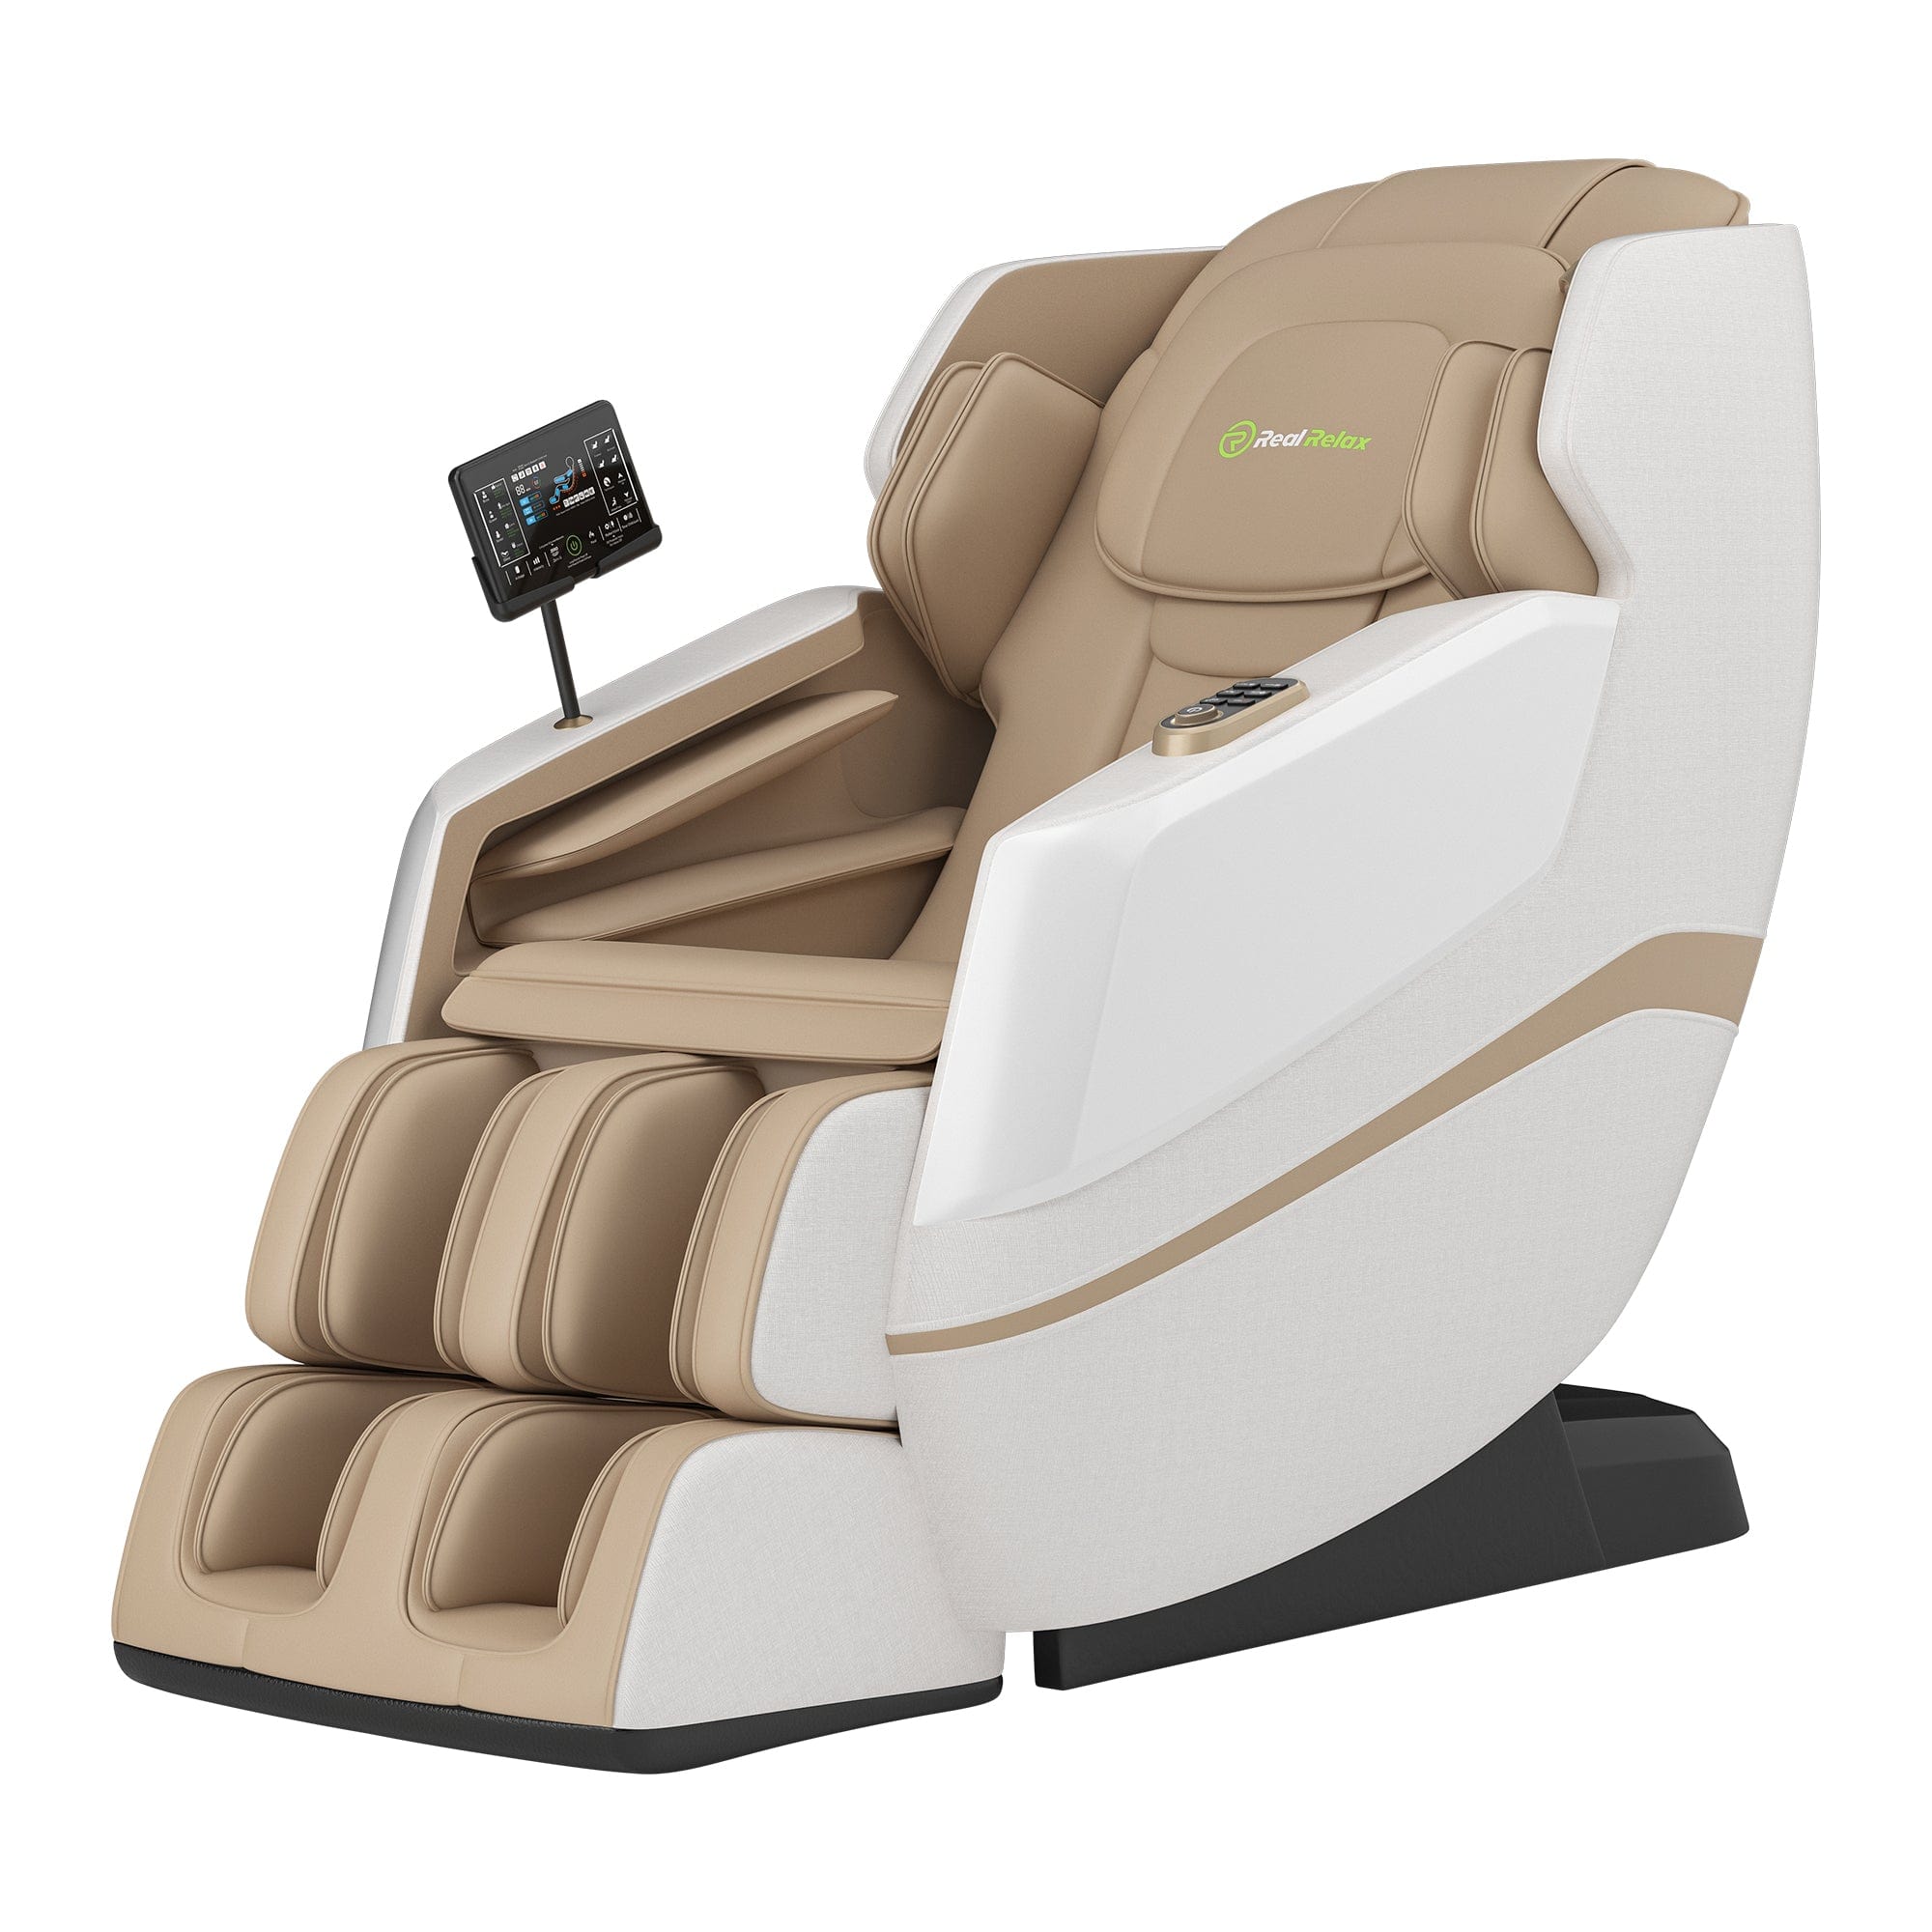
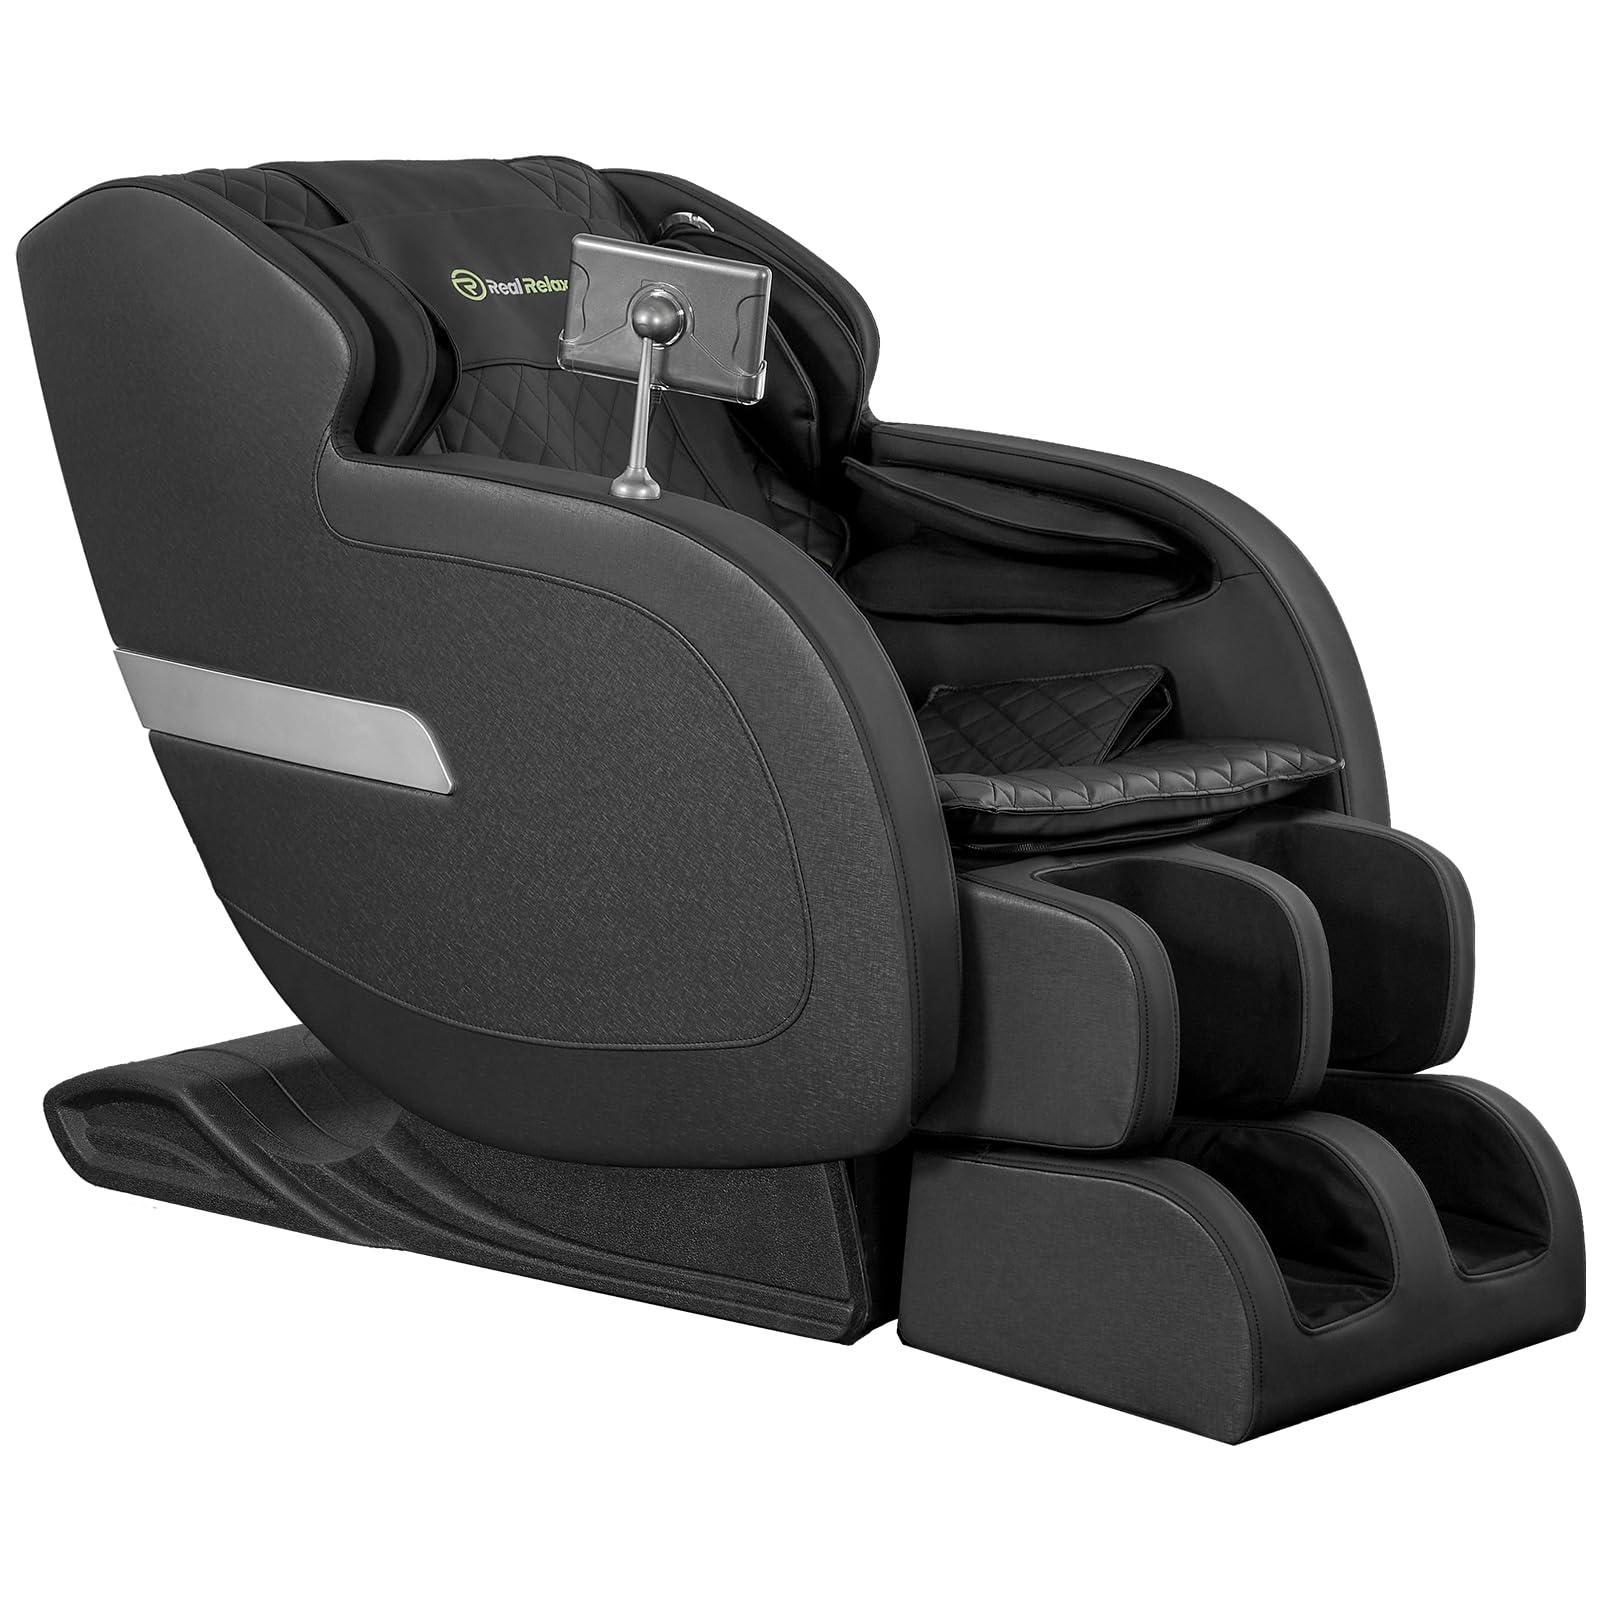
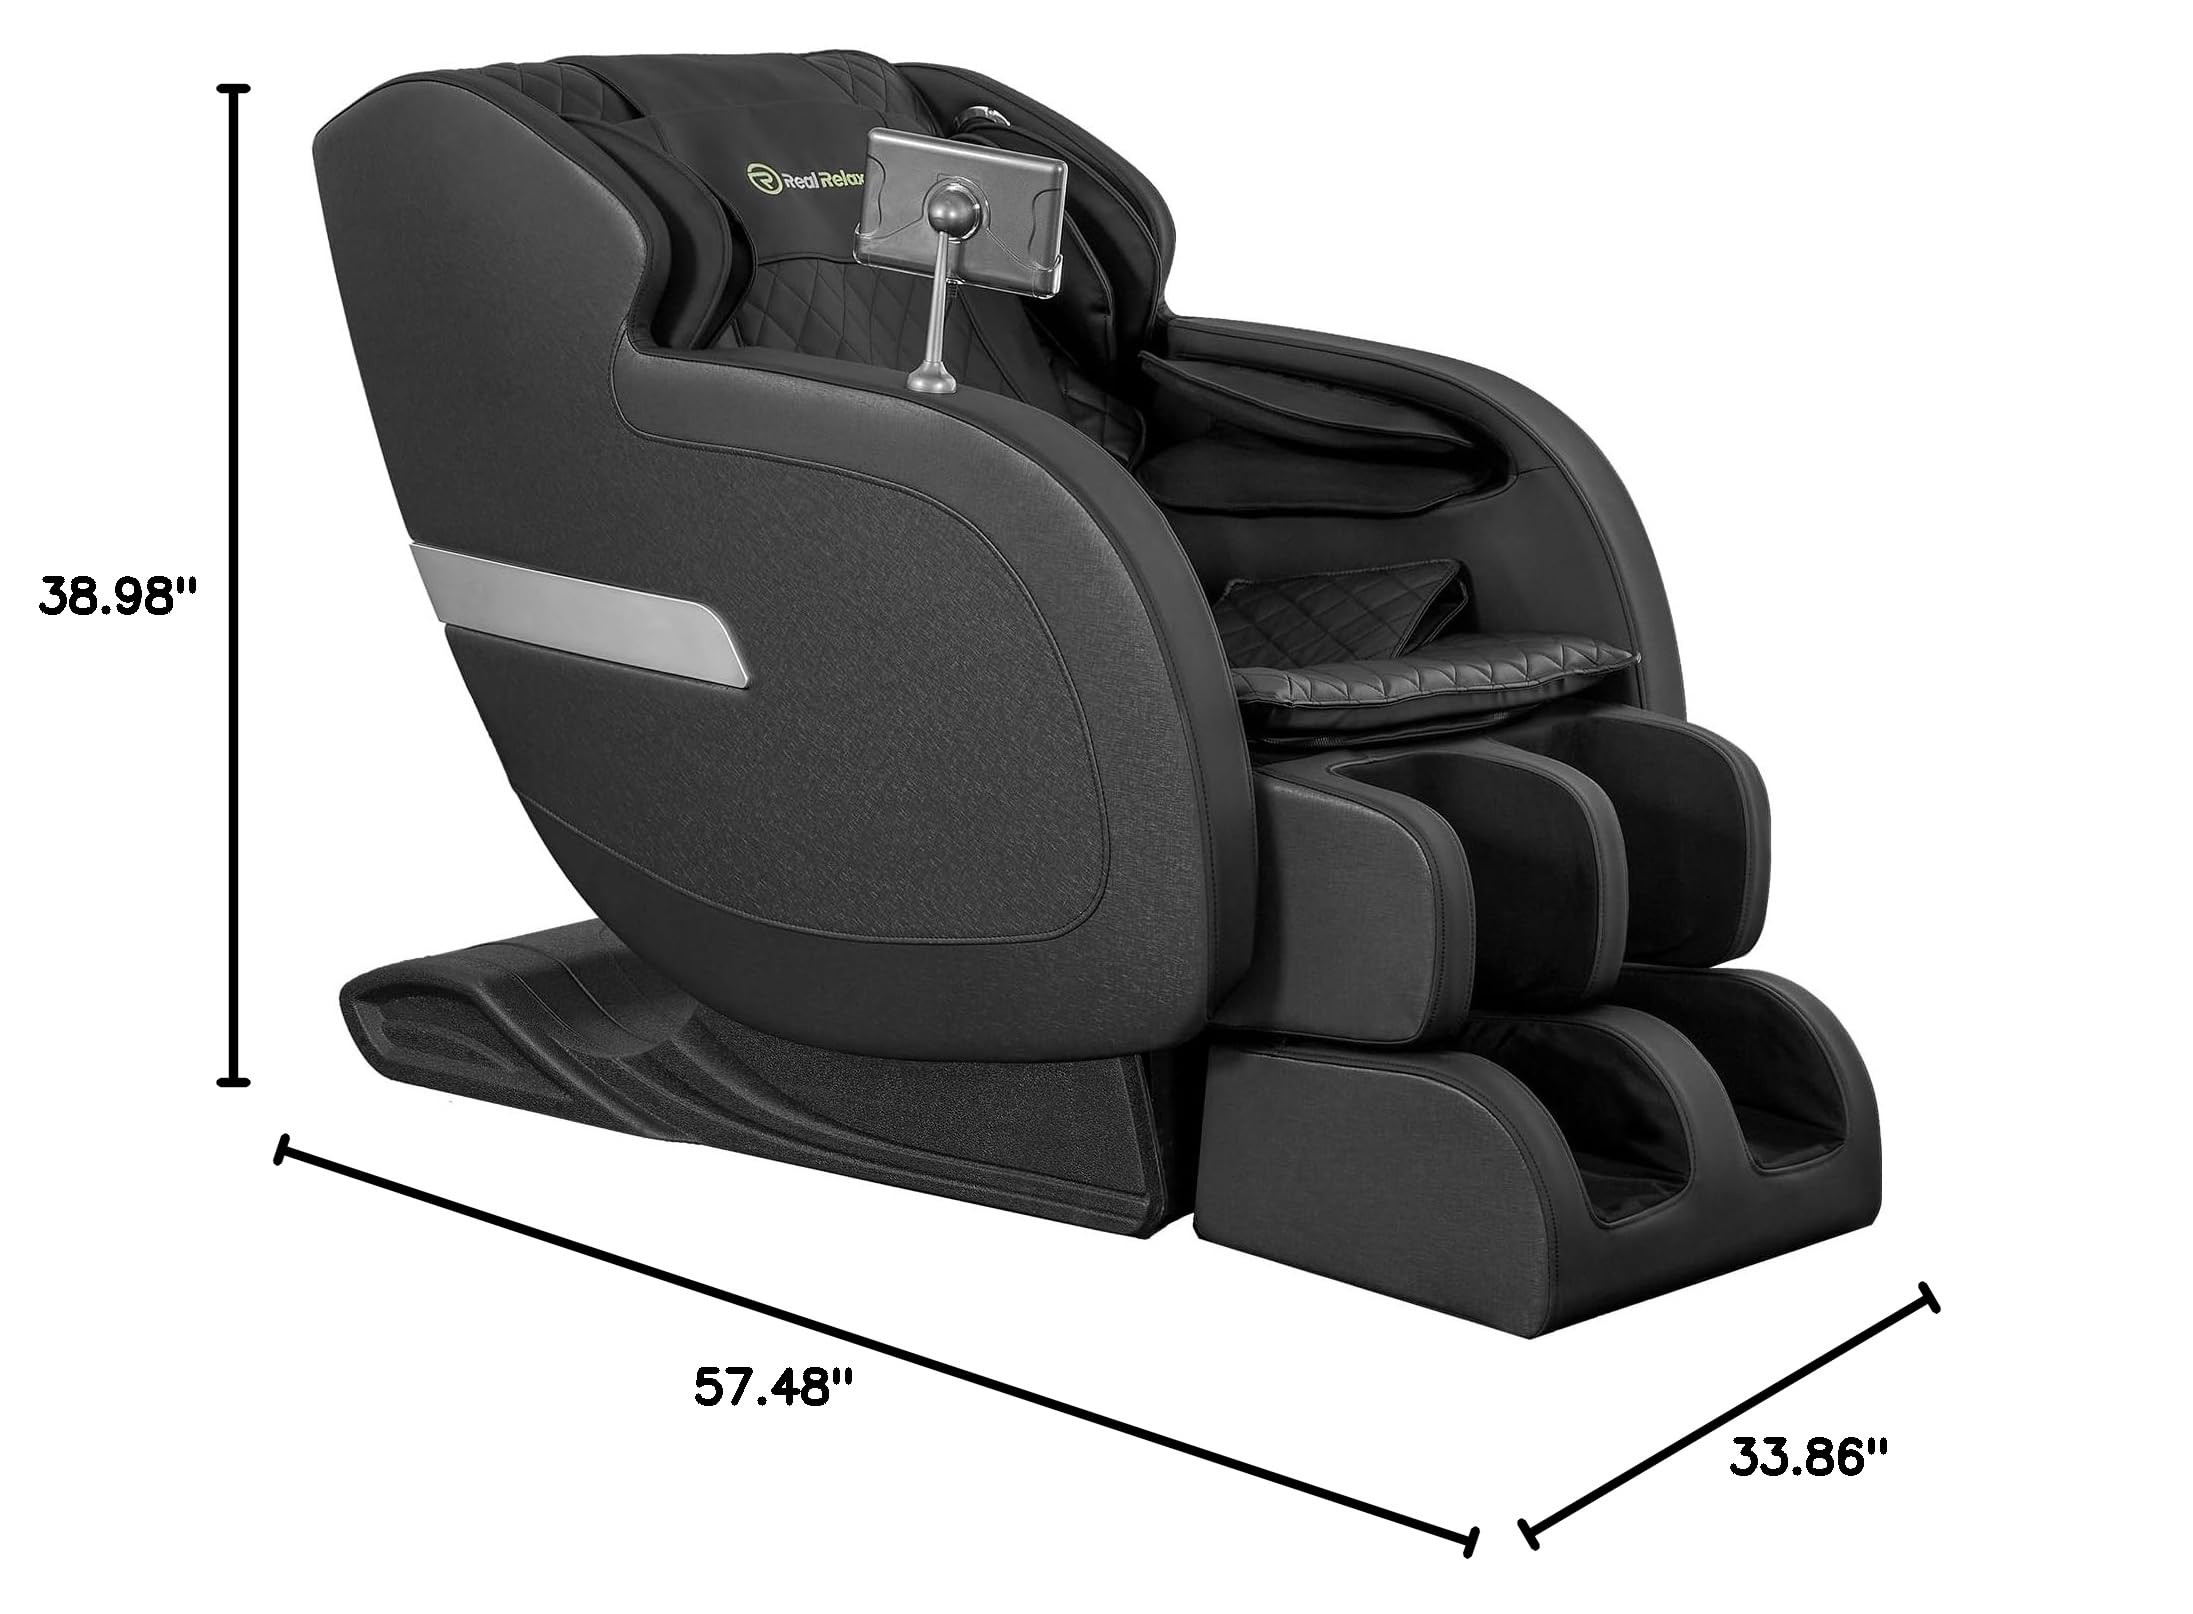
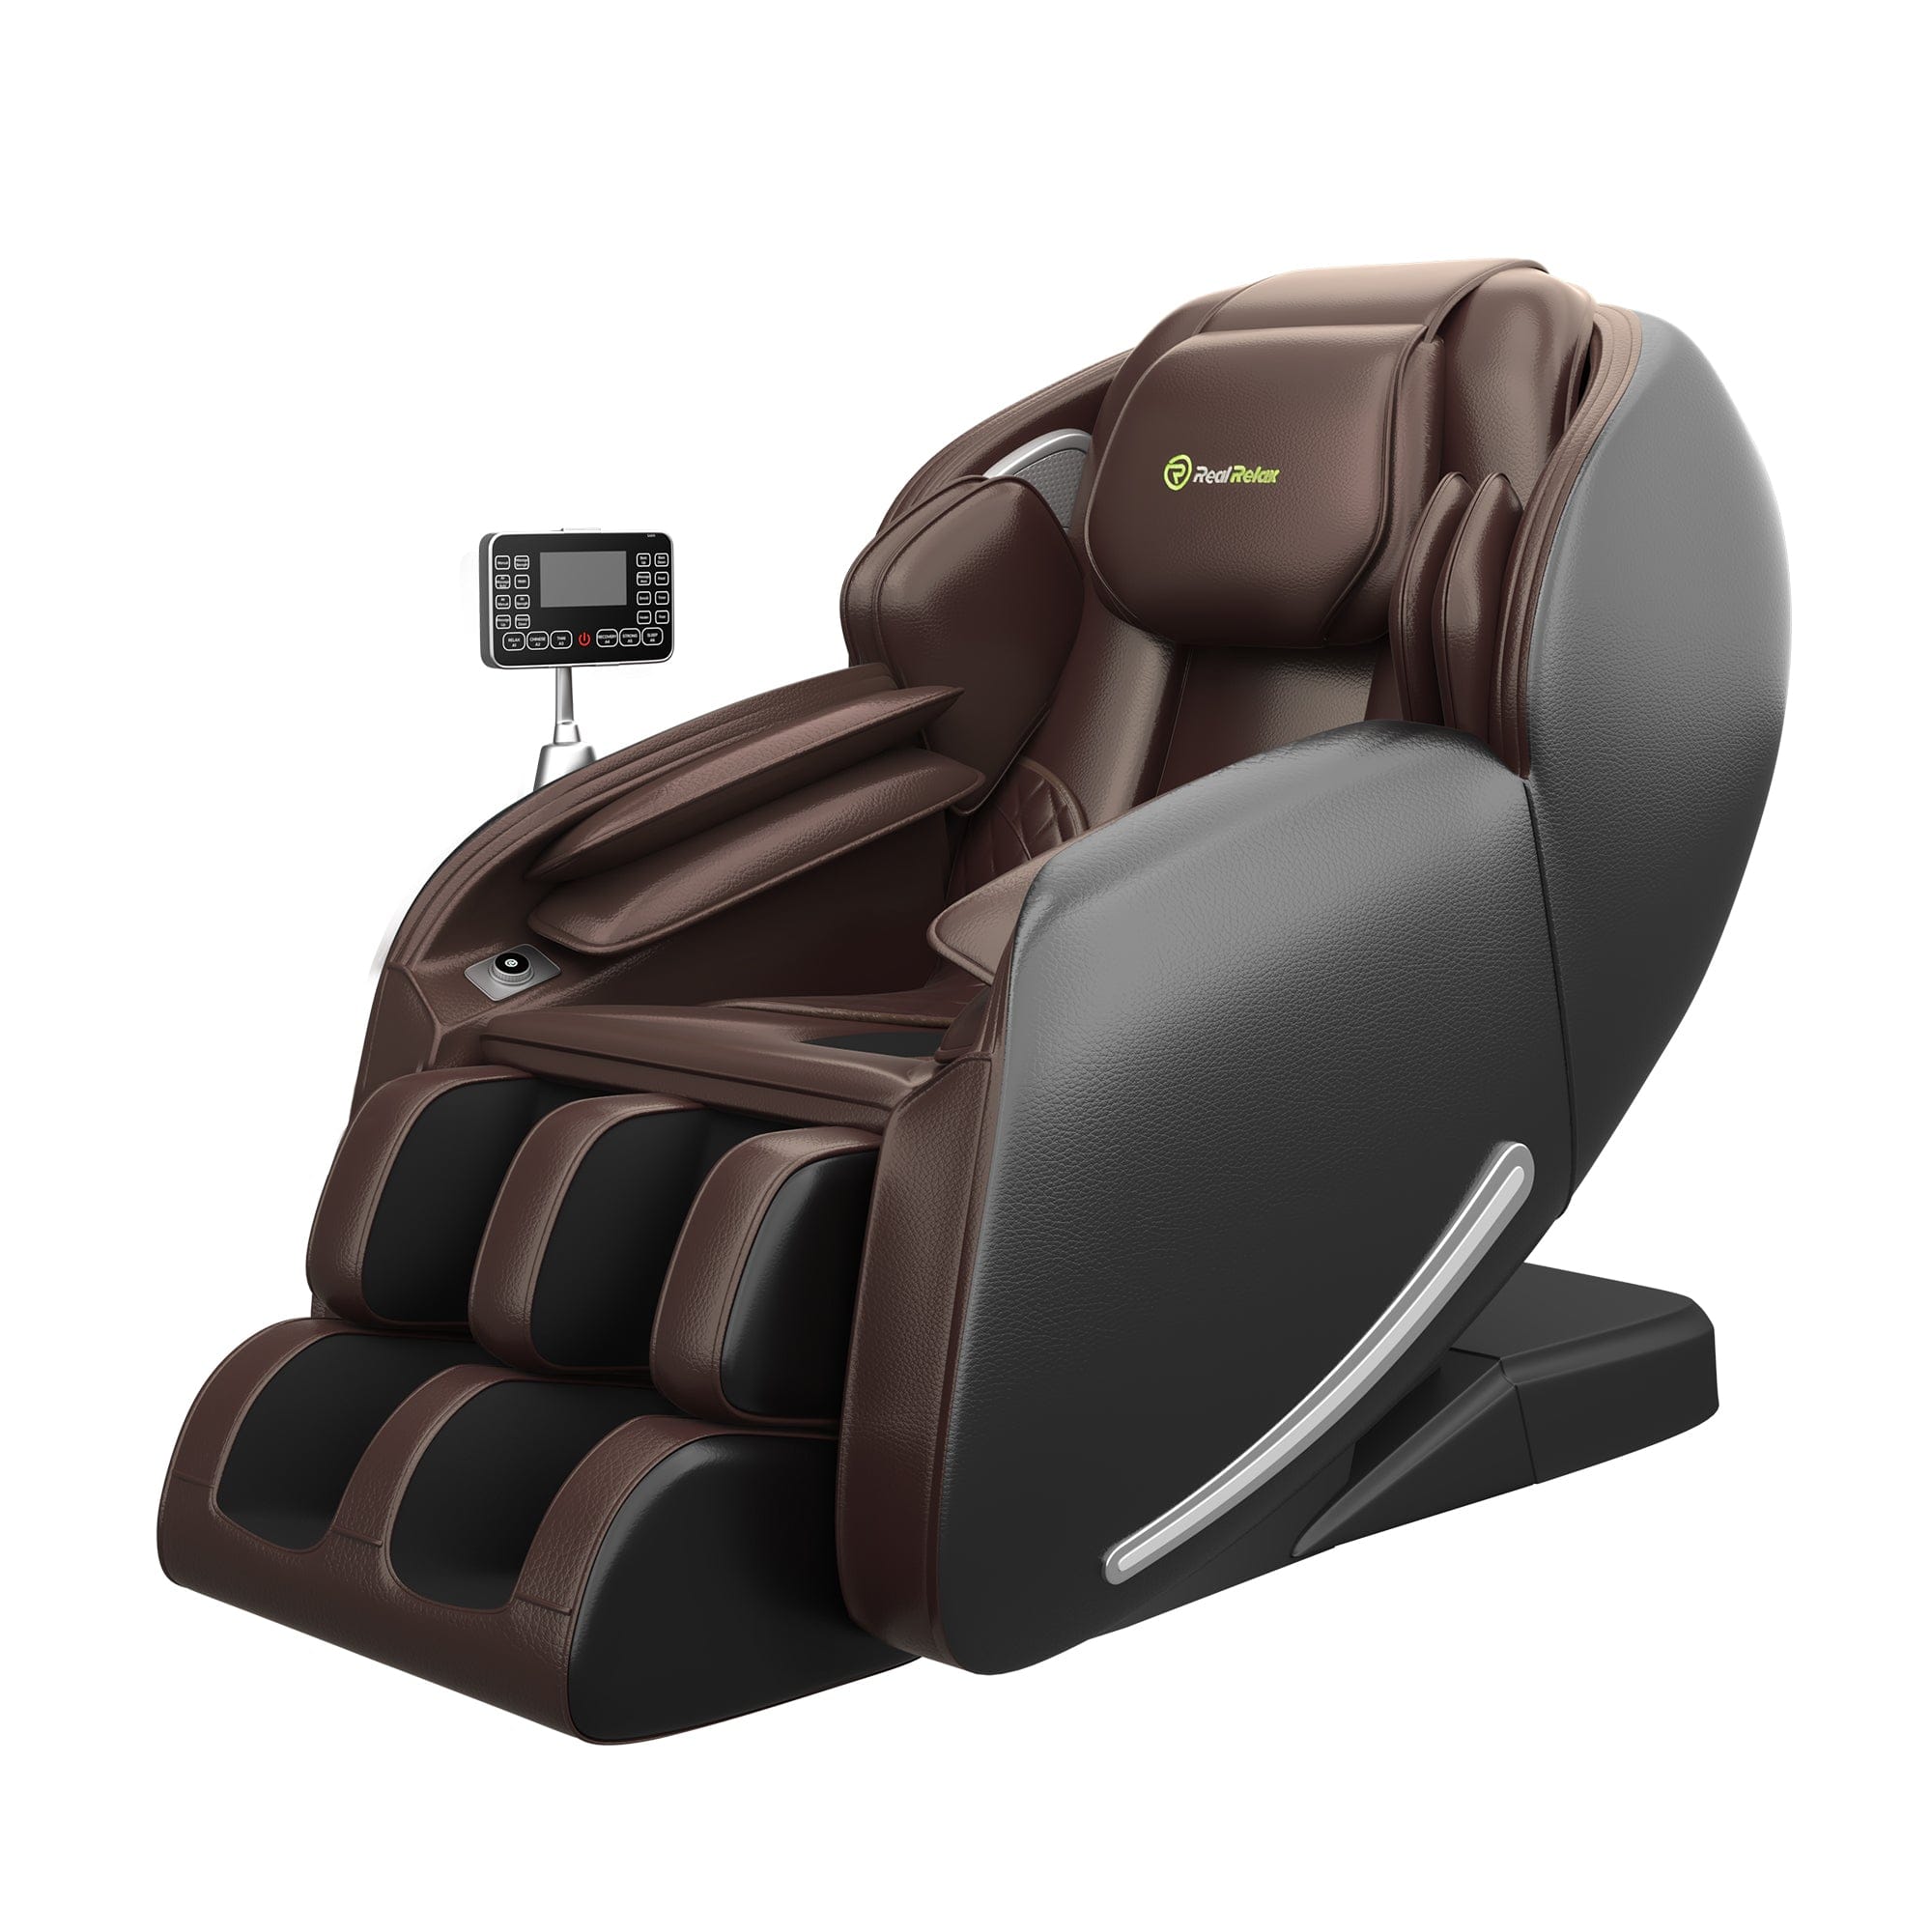
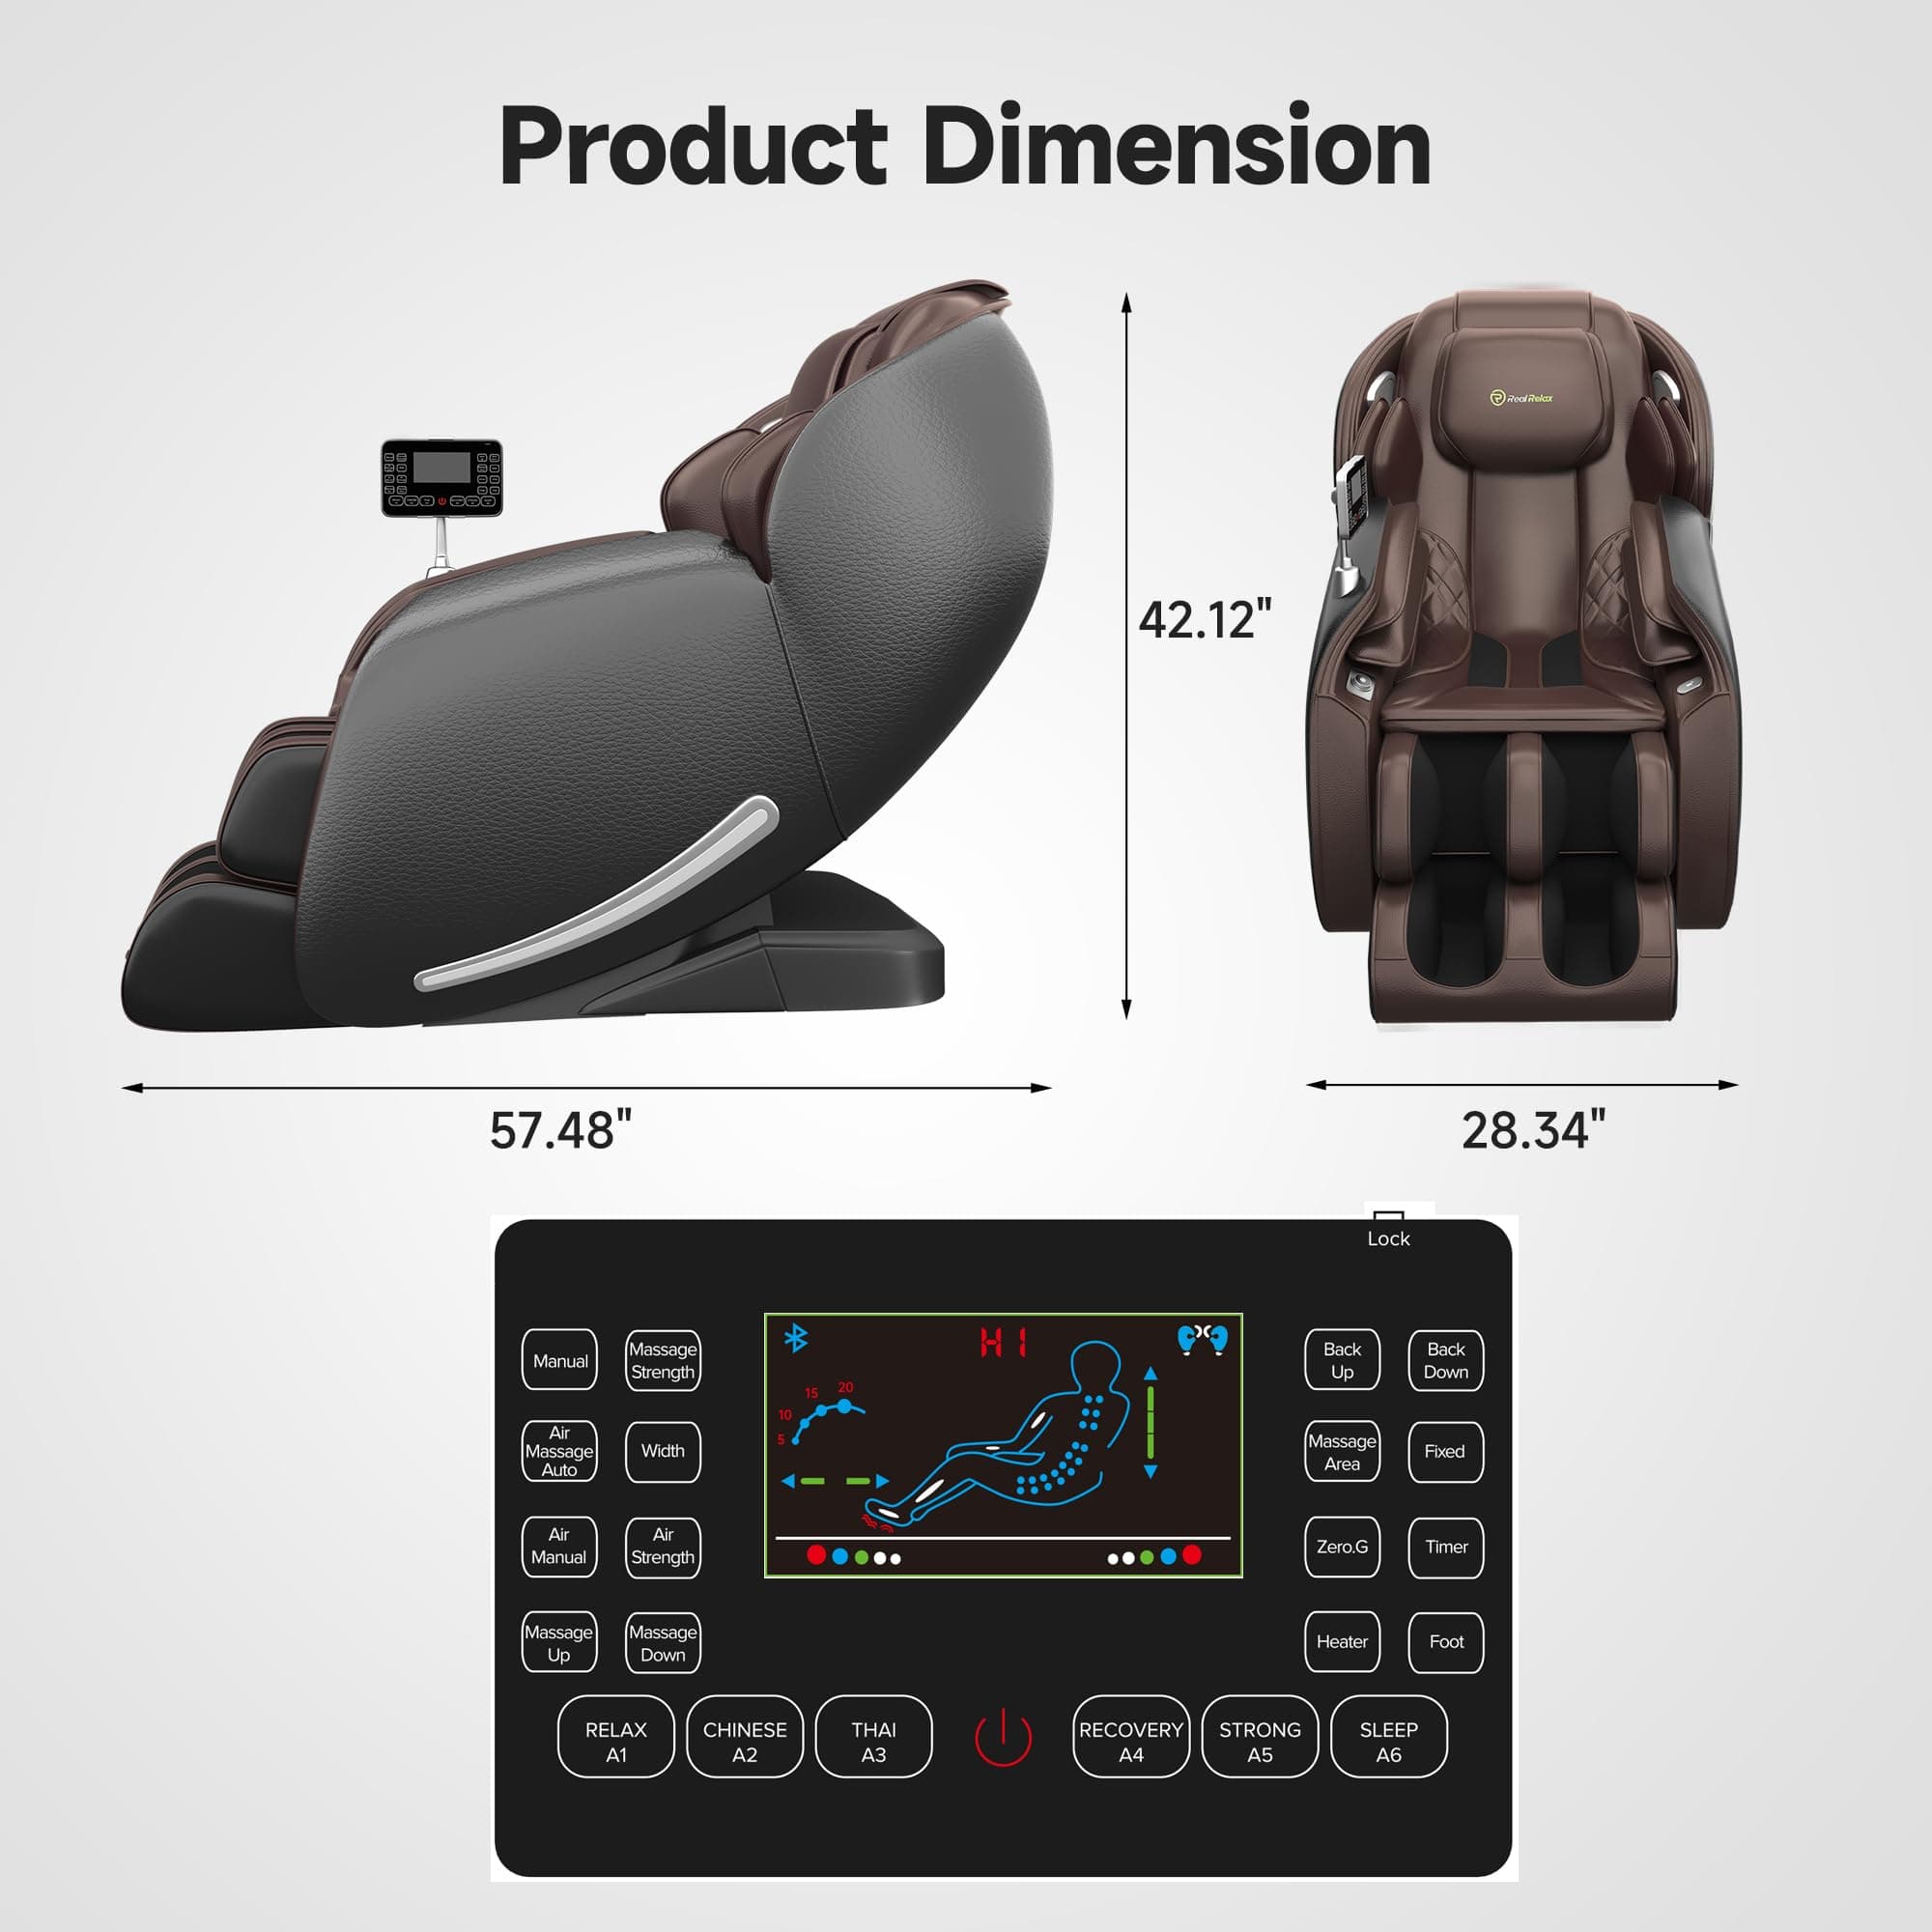
Making a massage chair at home can be a rewarding DIY project that allows you to customize your relaxation experience. Here's a comprehensive guide to help you build your own massage chair, step by step, in an easy-to-understand manner.
Planning and Design
Before you start building, plan your massage chair's design. Consider the size, shape, and features you want, such as heated massage chairs, music massage chairs, or zero gravity massage chairs. Sketch out your design and list all the materials and tools you'll need.
Frame and Seat Construction
The frame is the backbone of your massage chair. Choose sturdy materials like hardwoods, metals, or high-grade plastics. For the seat, use high-density foam for comfort and add springs or webbing for stability to prevent sagging over time.
Backrest and Headrest Design
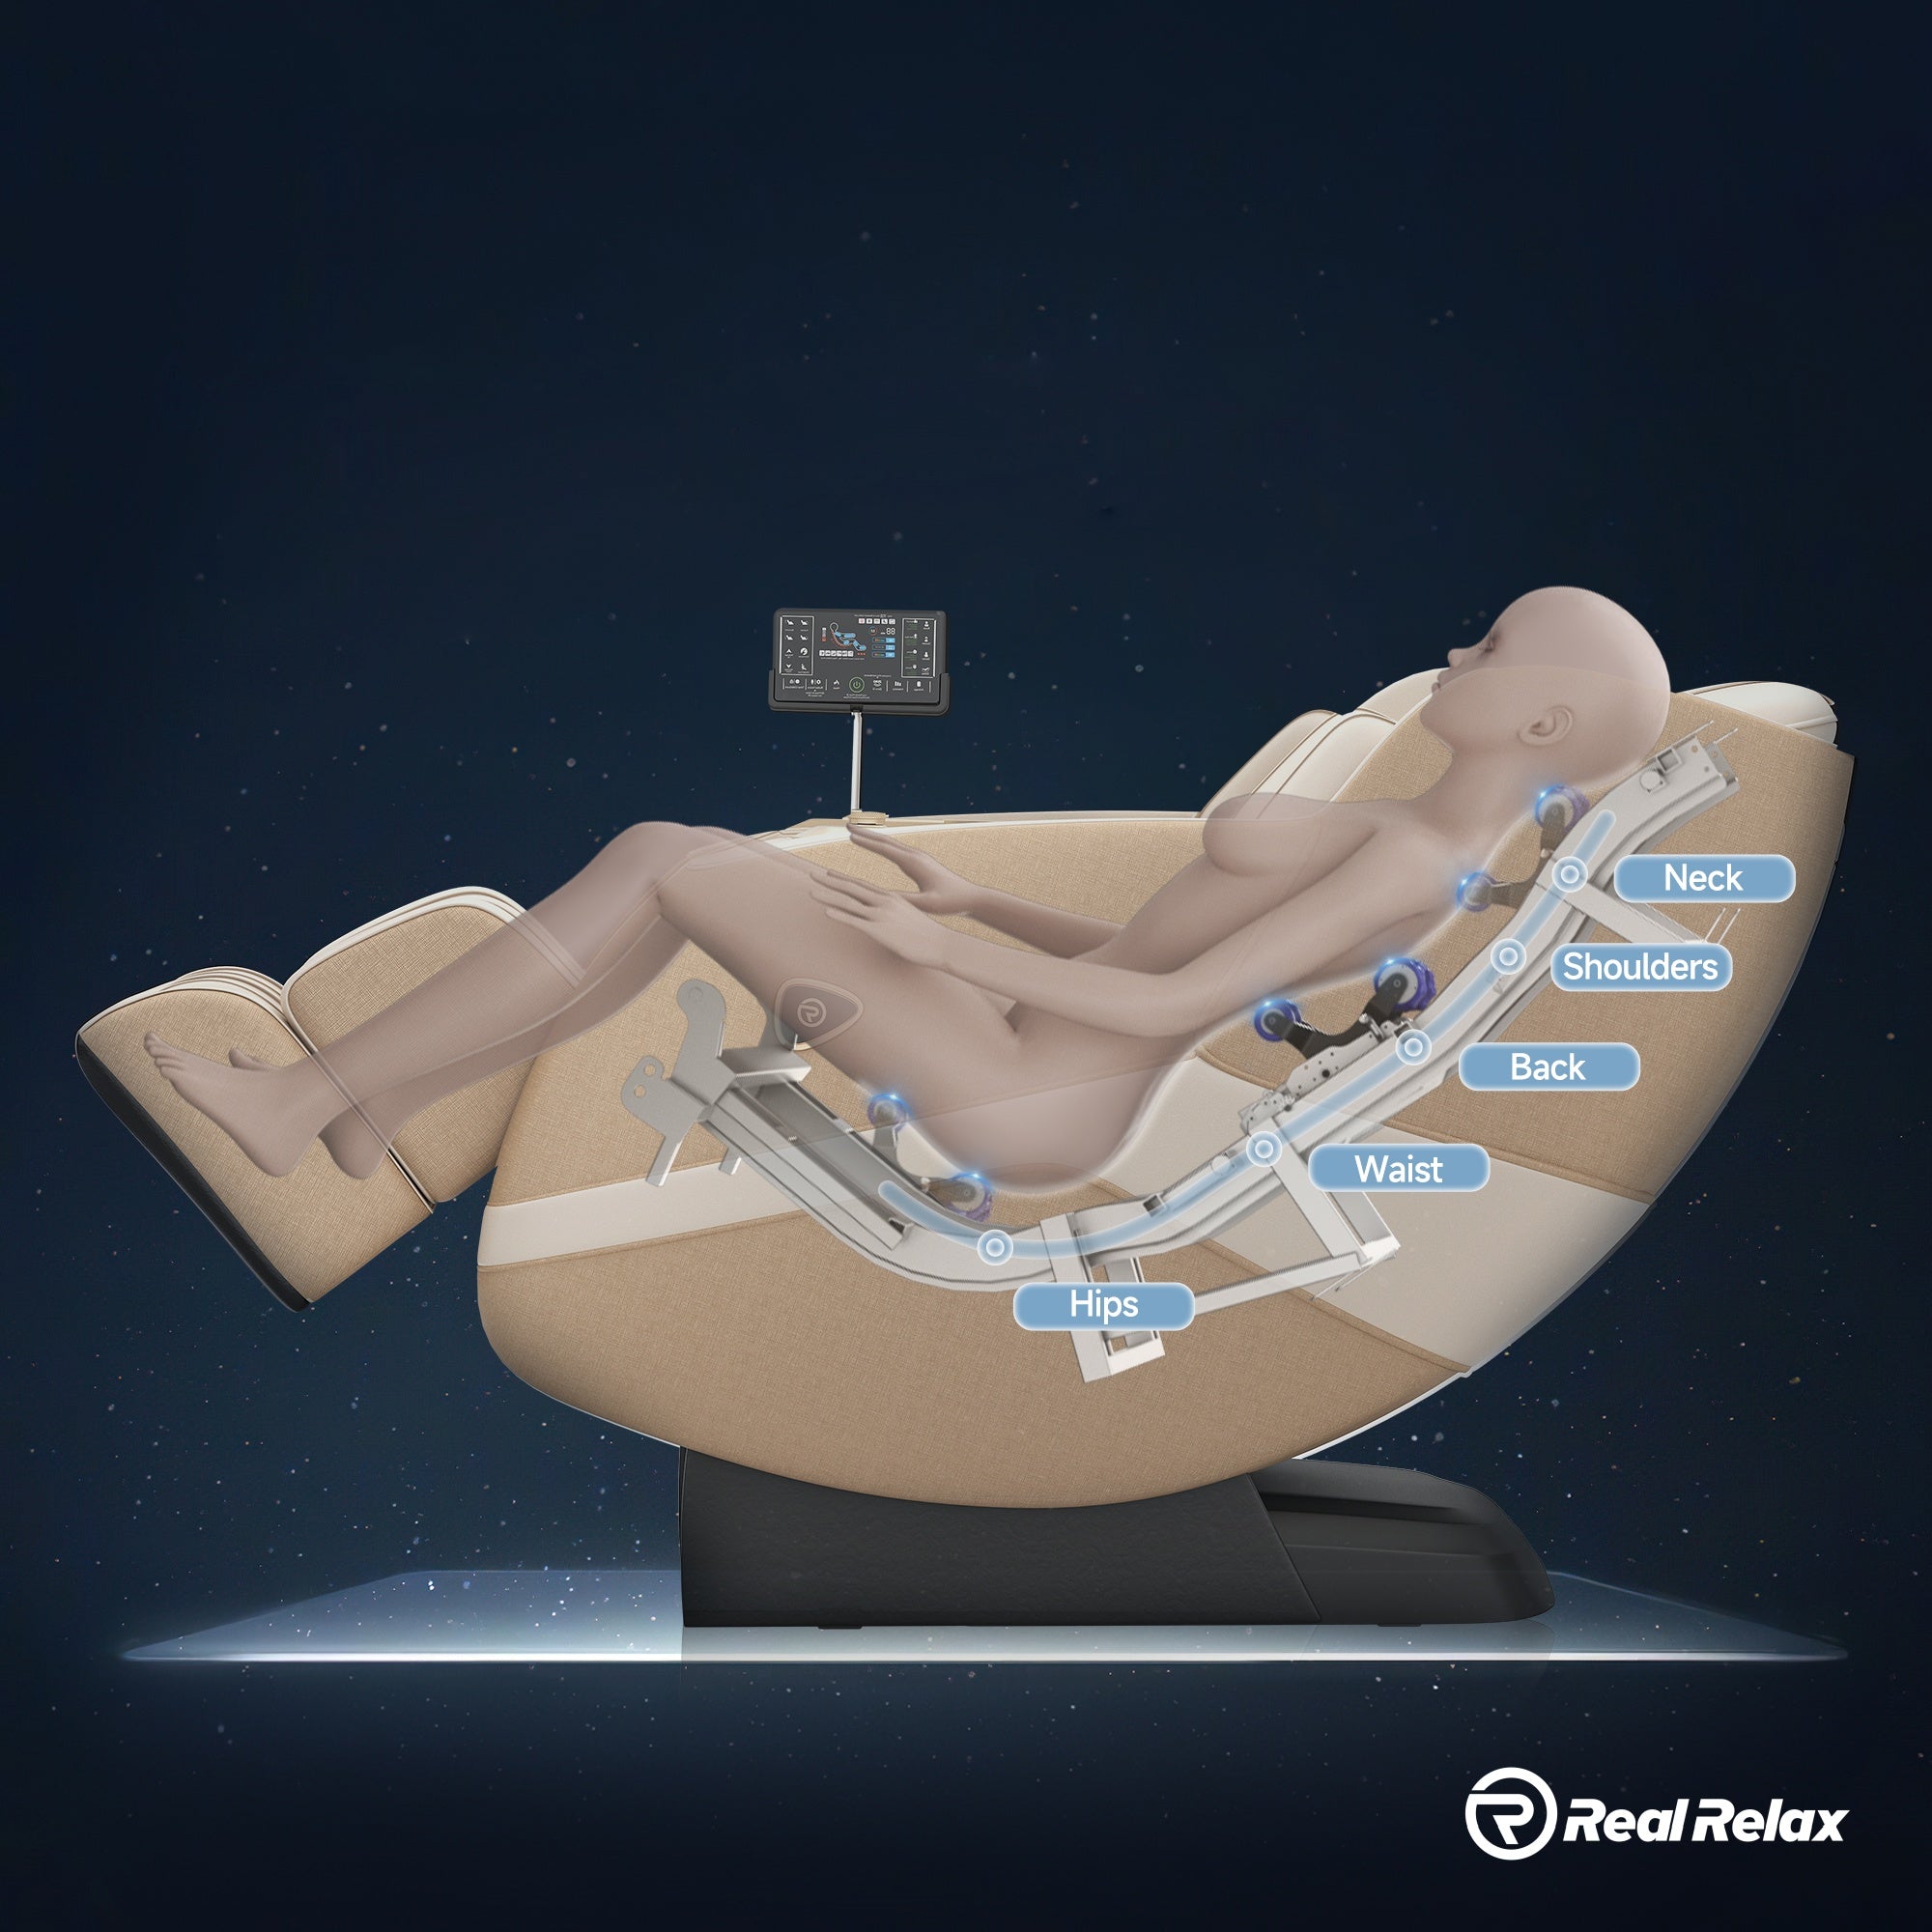
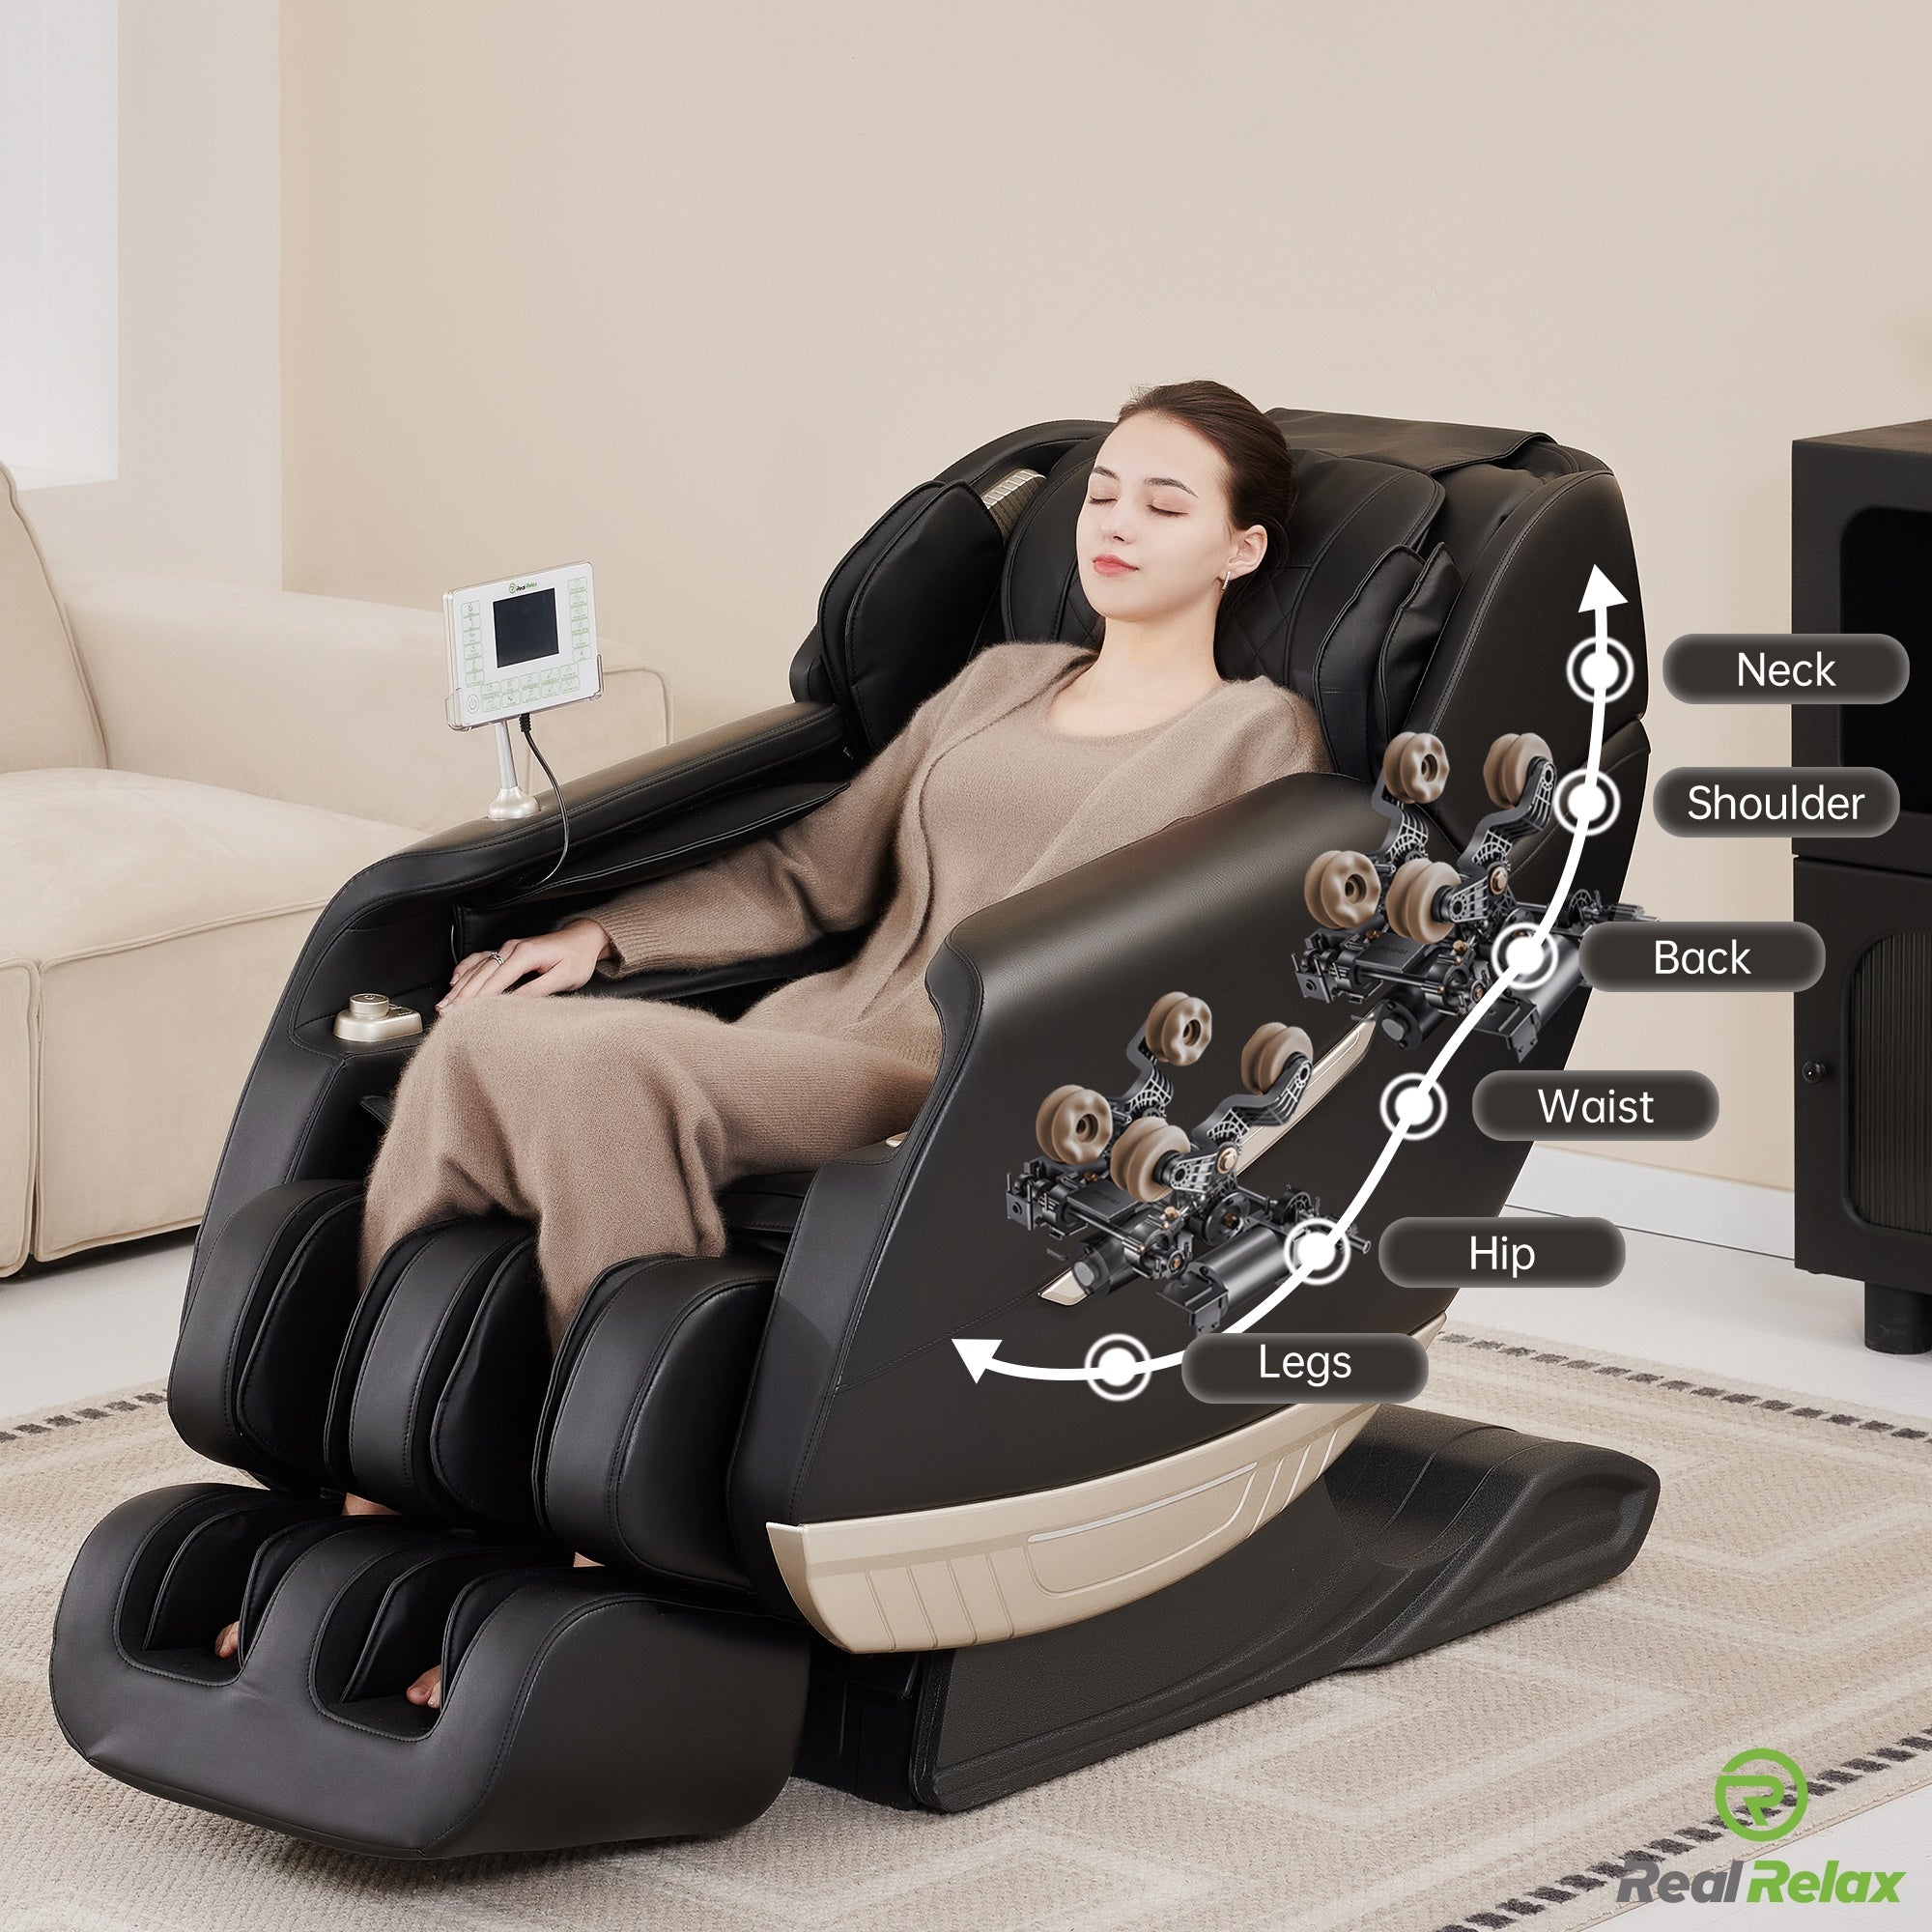
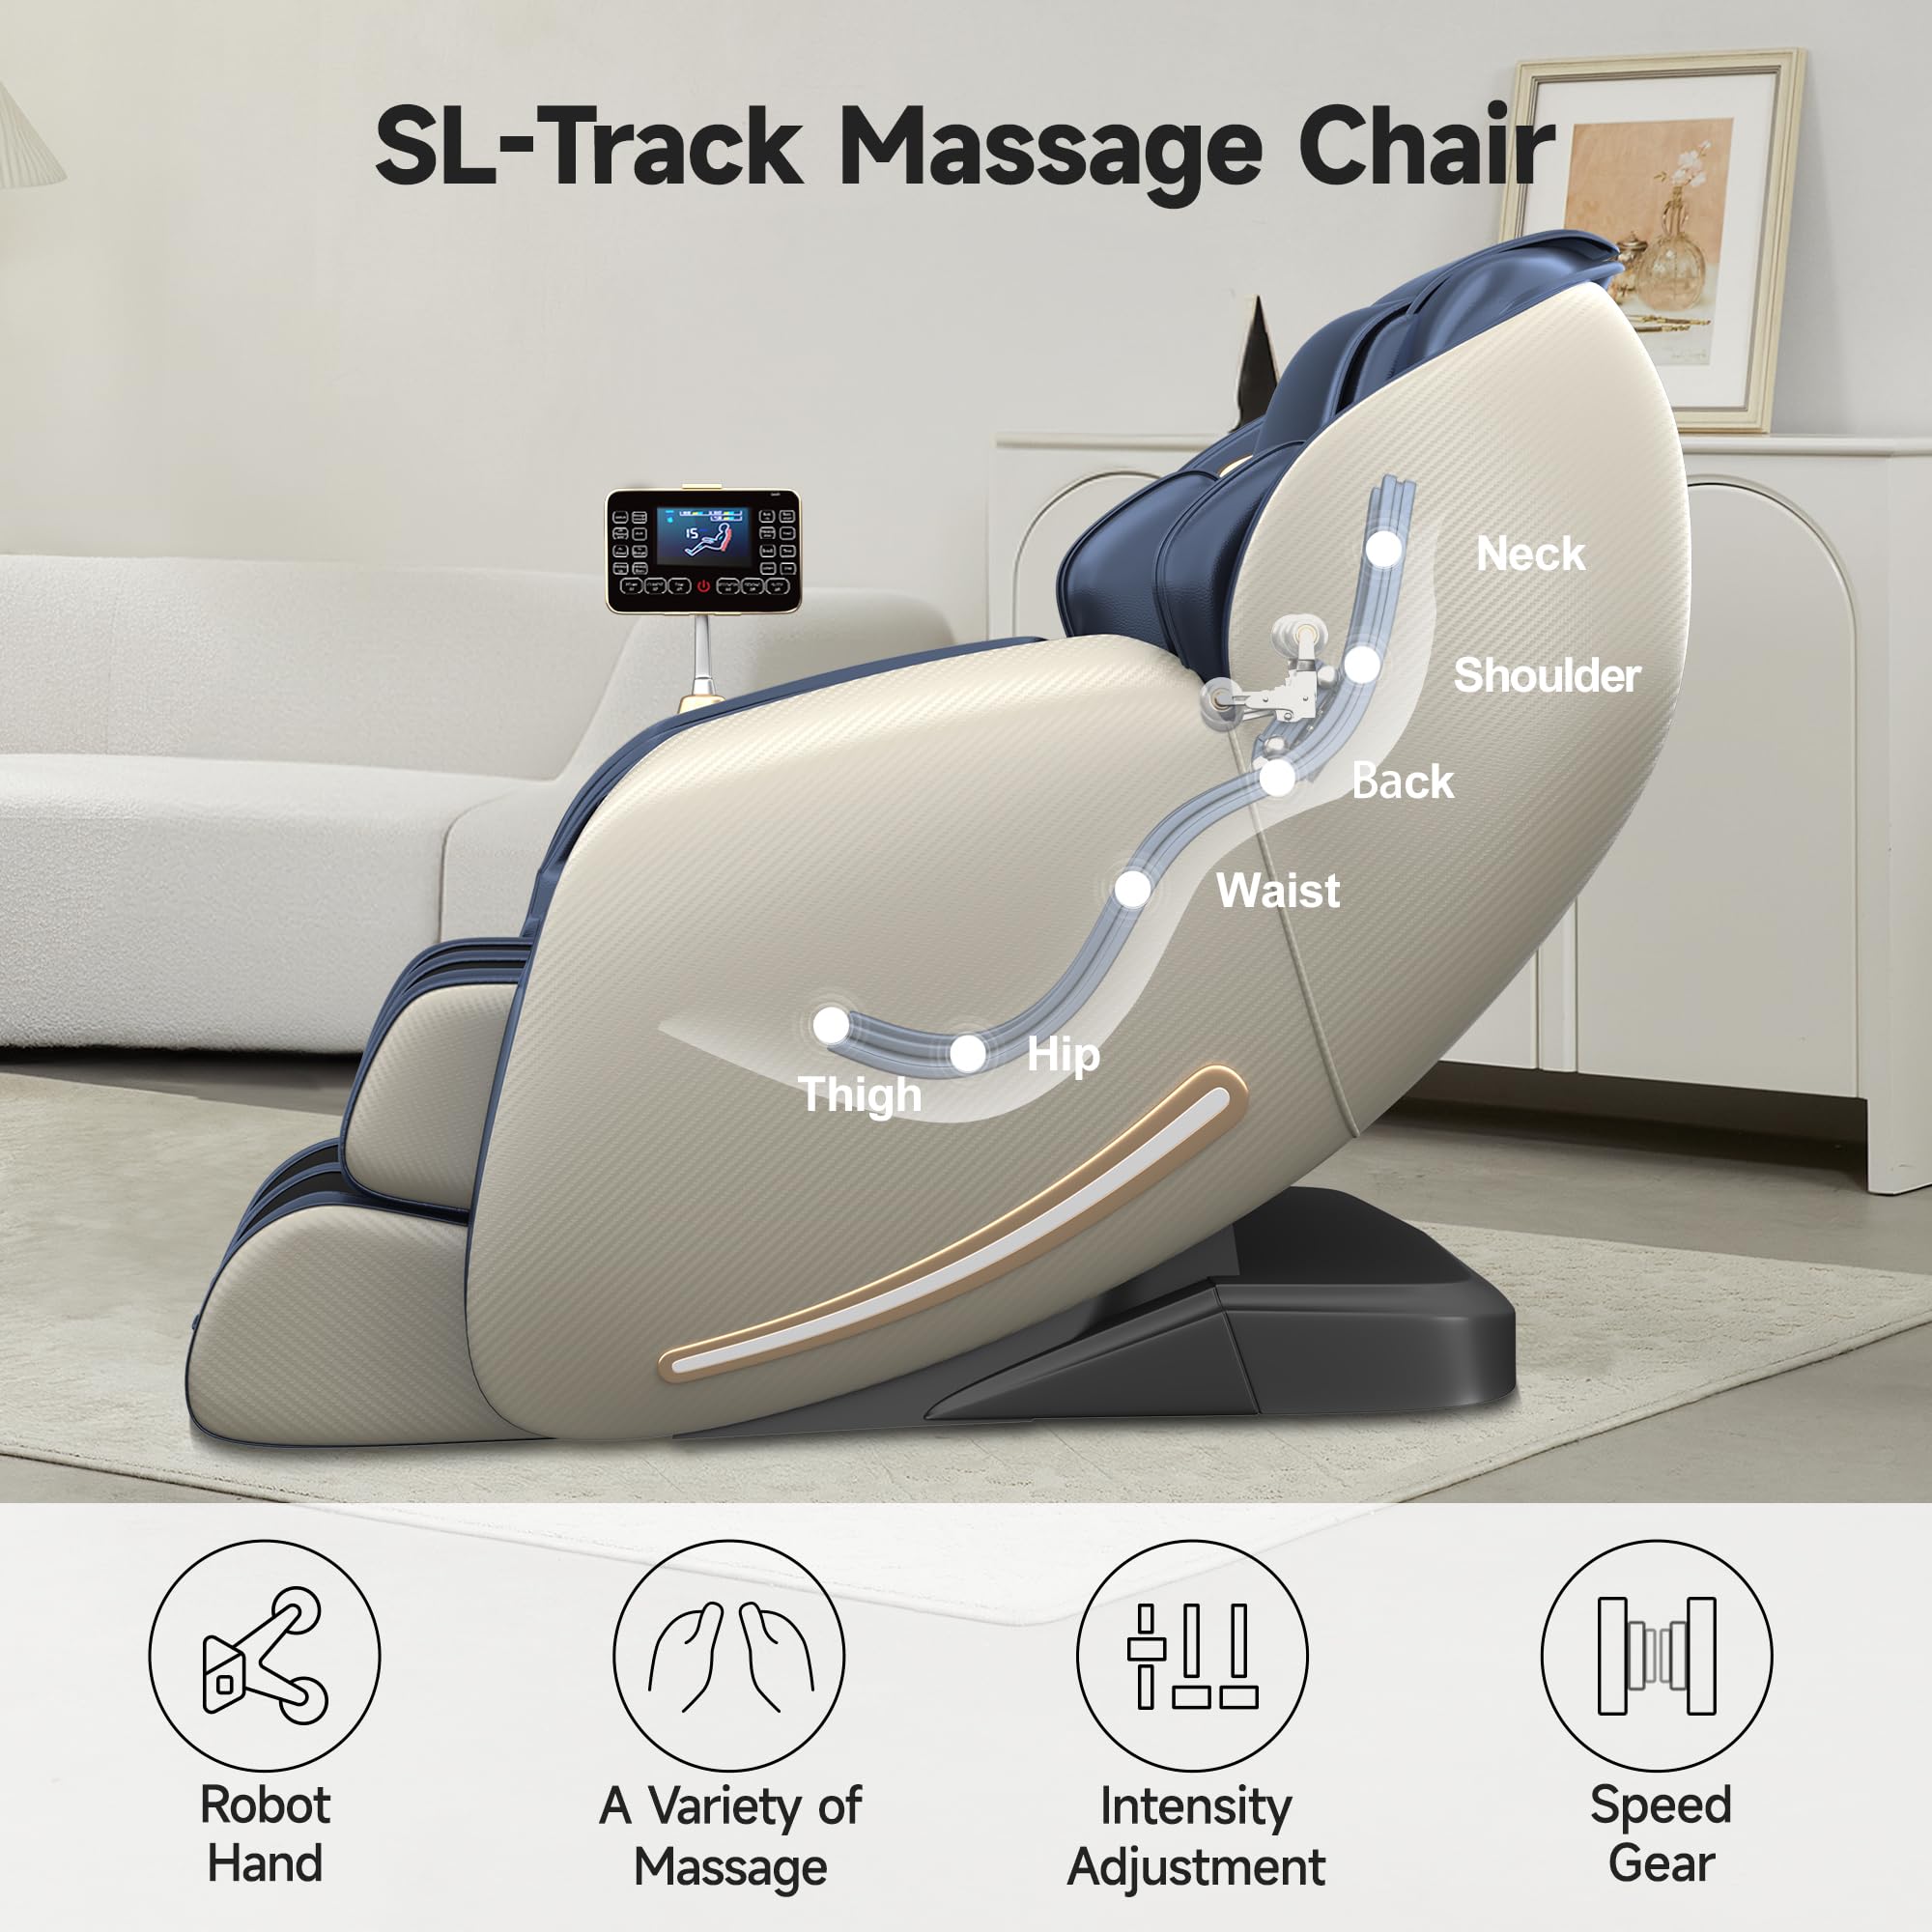
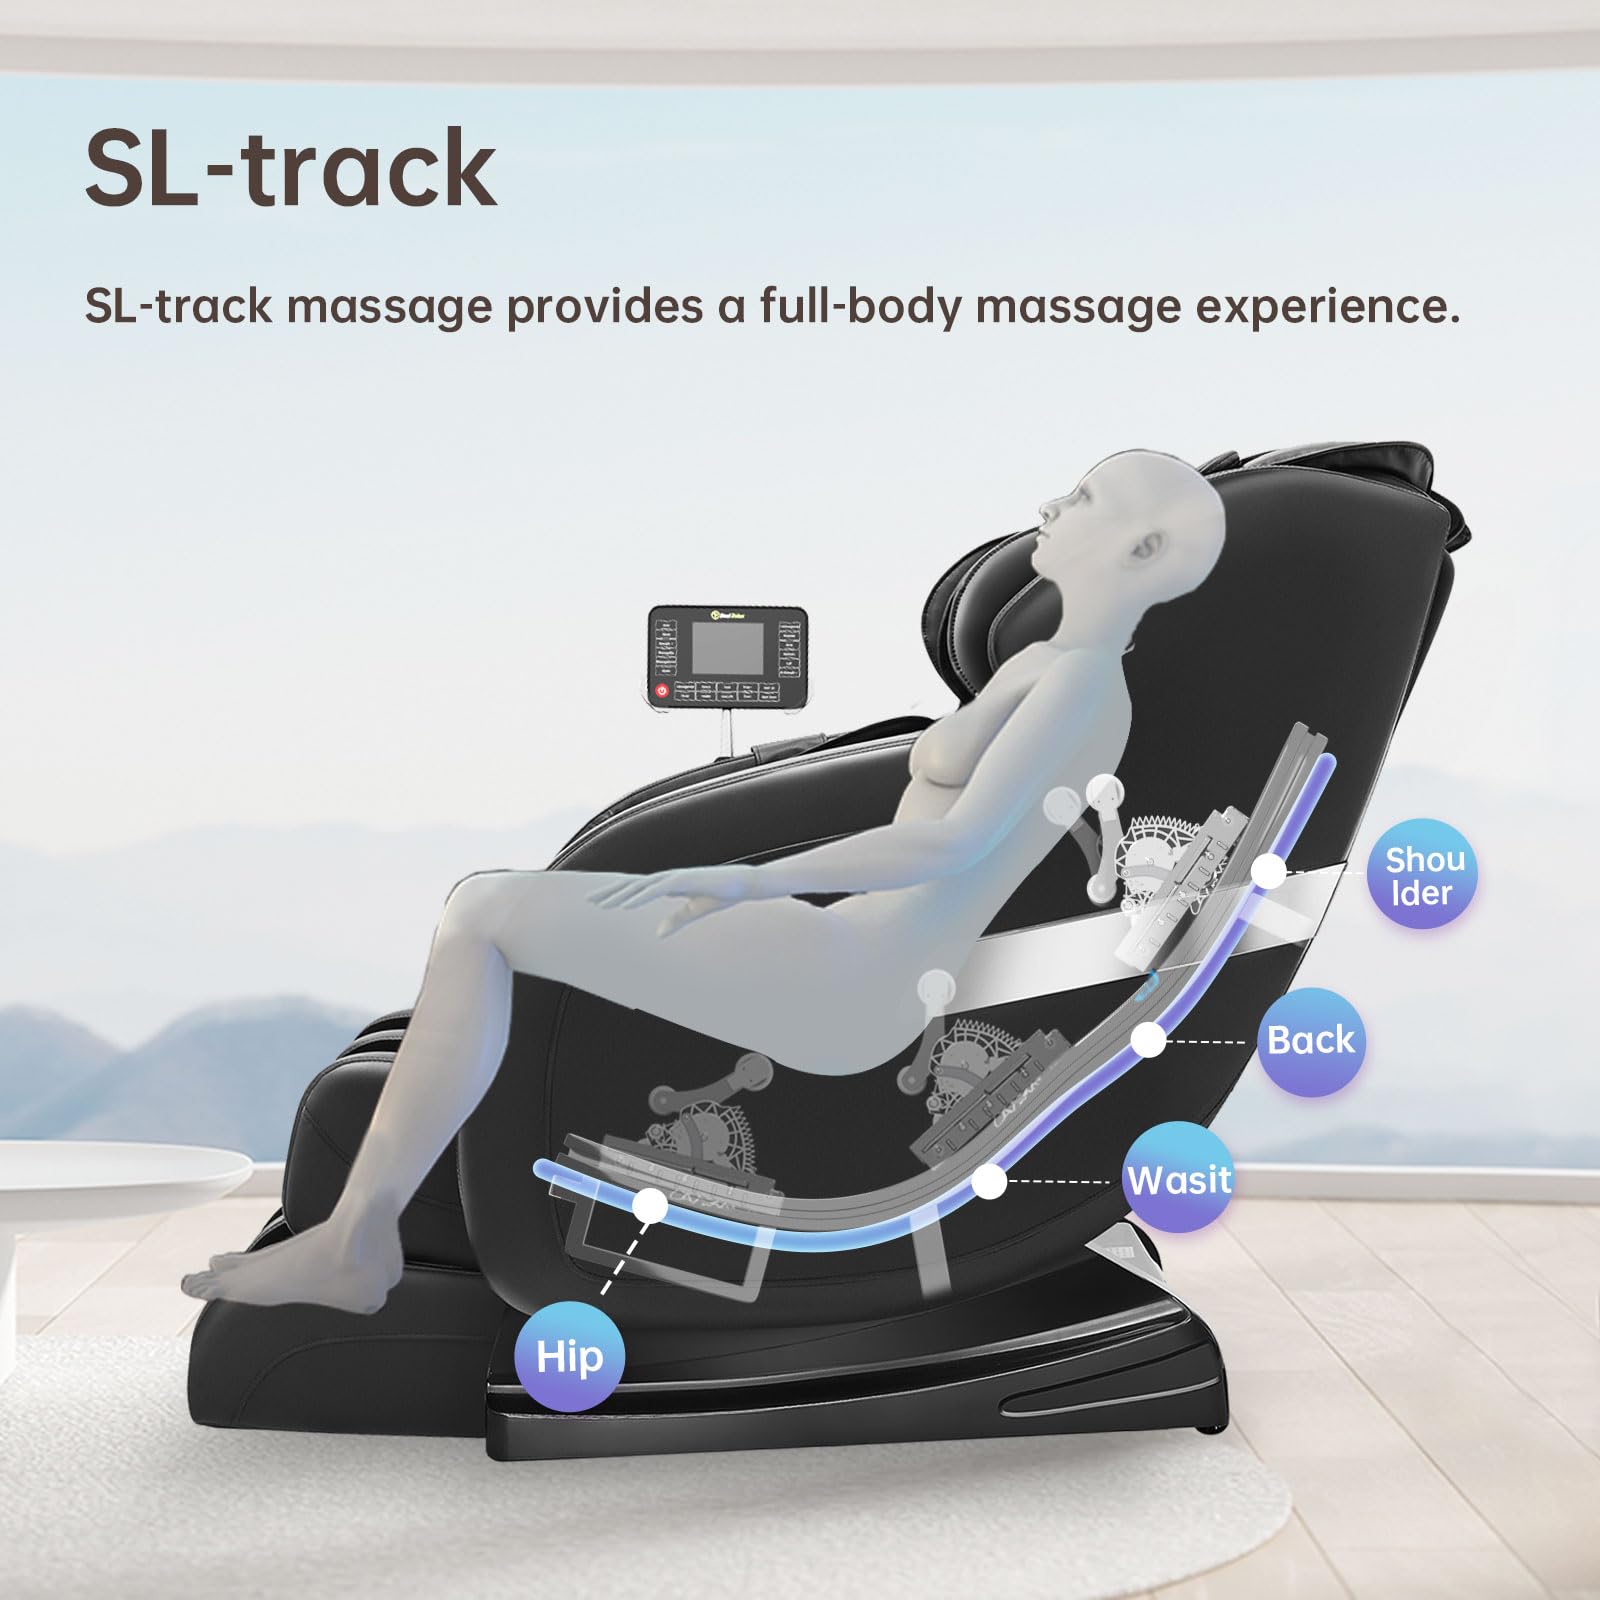
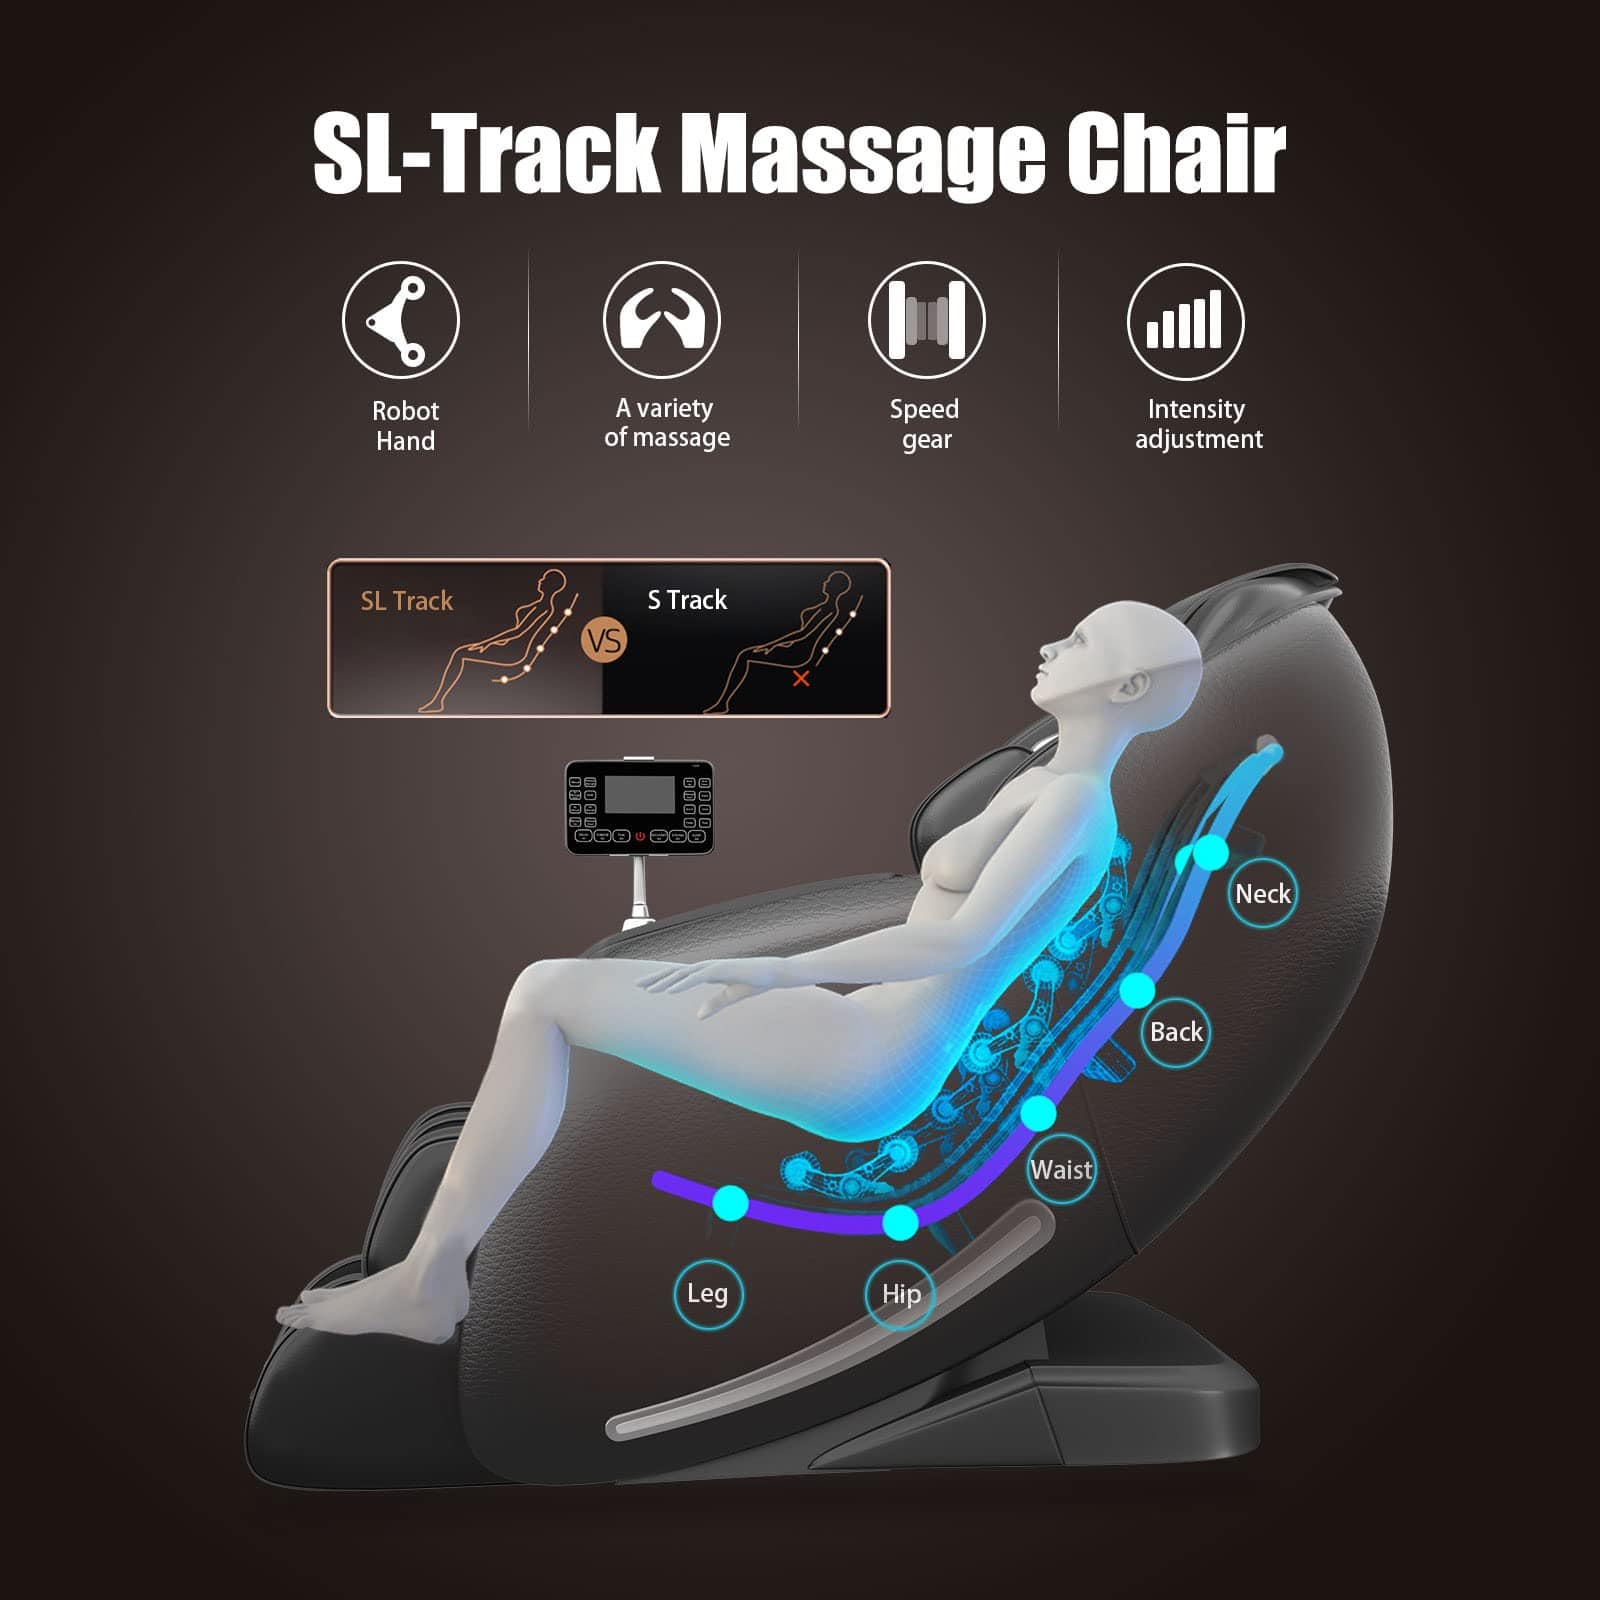
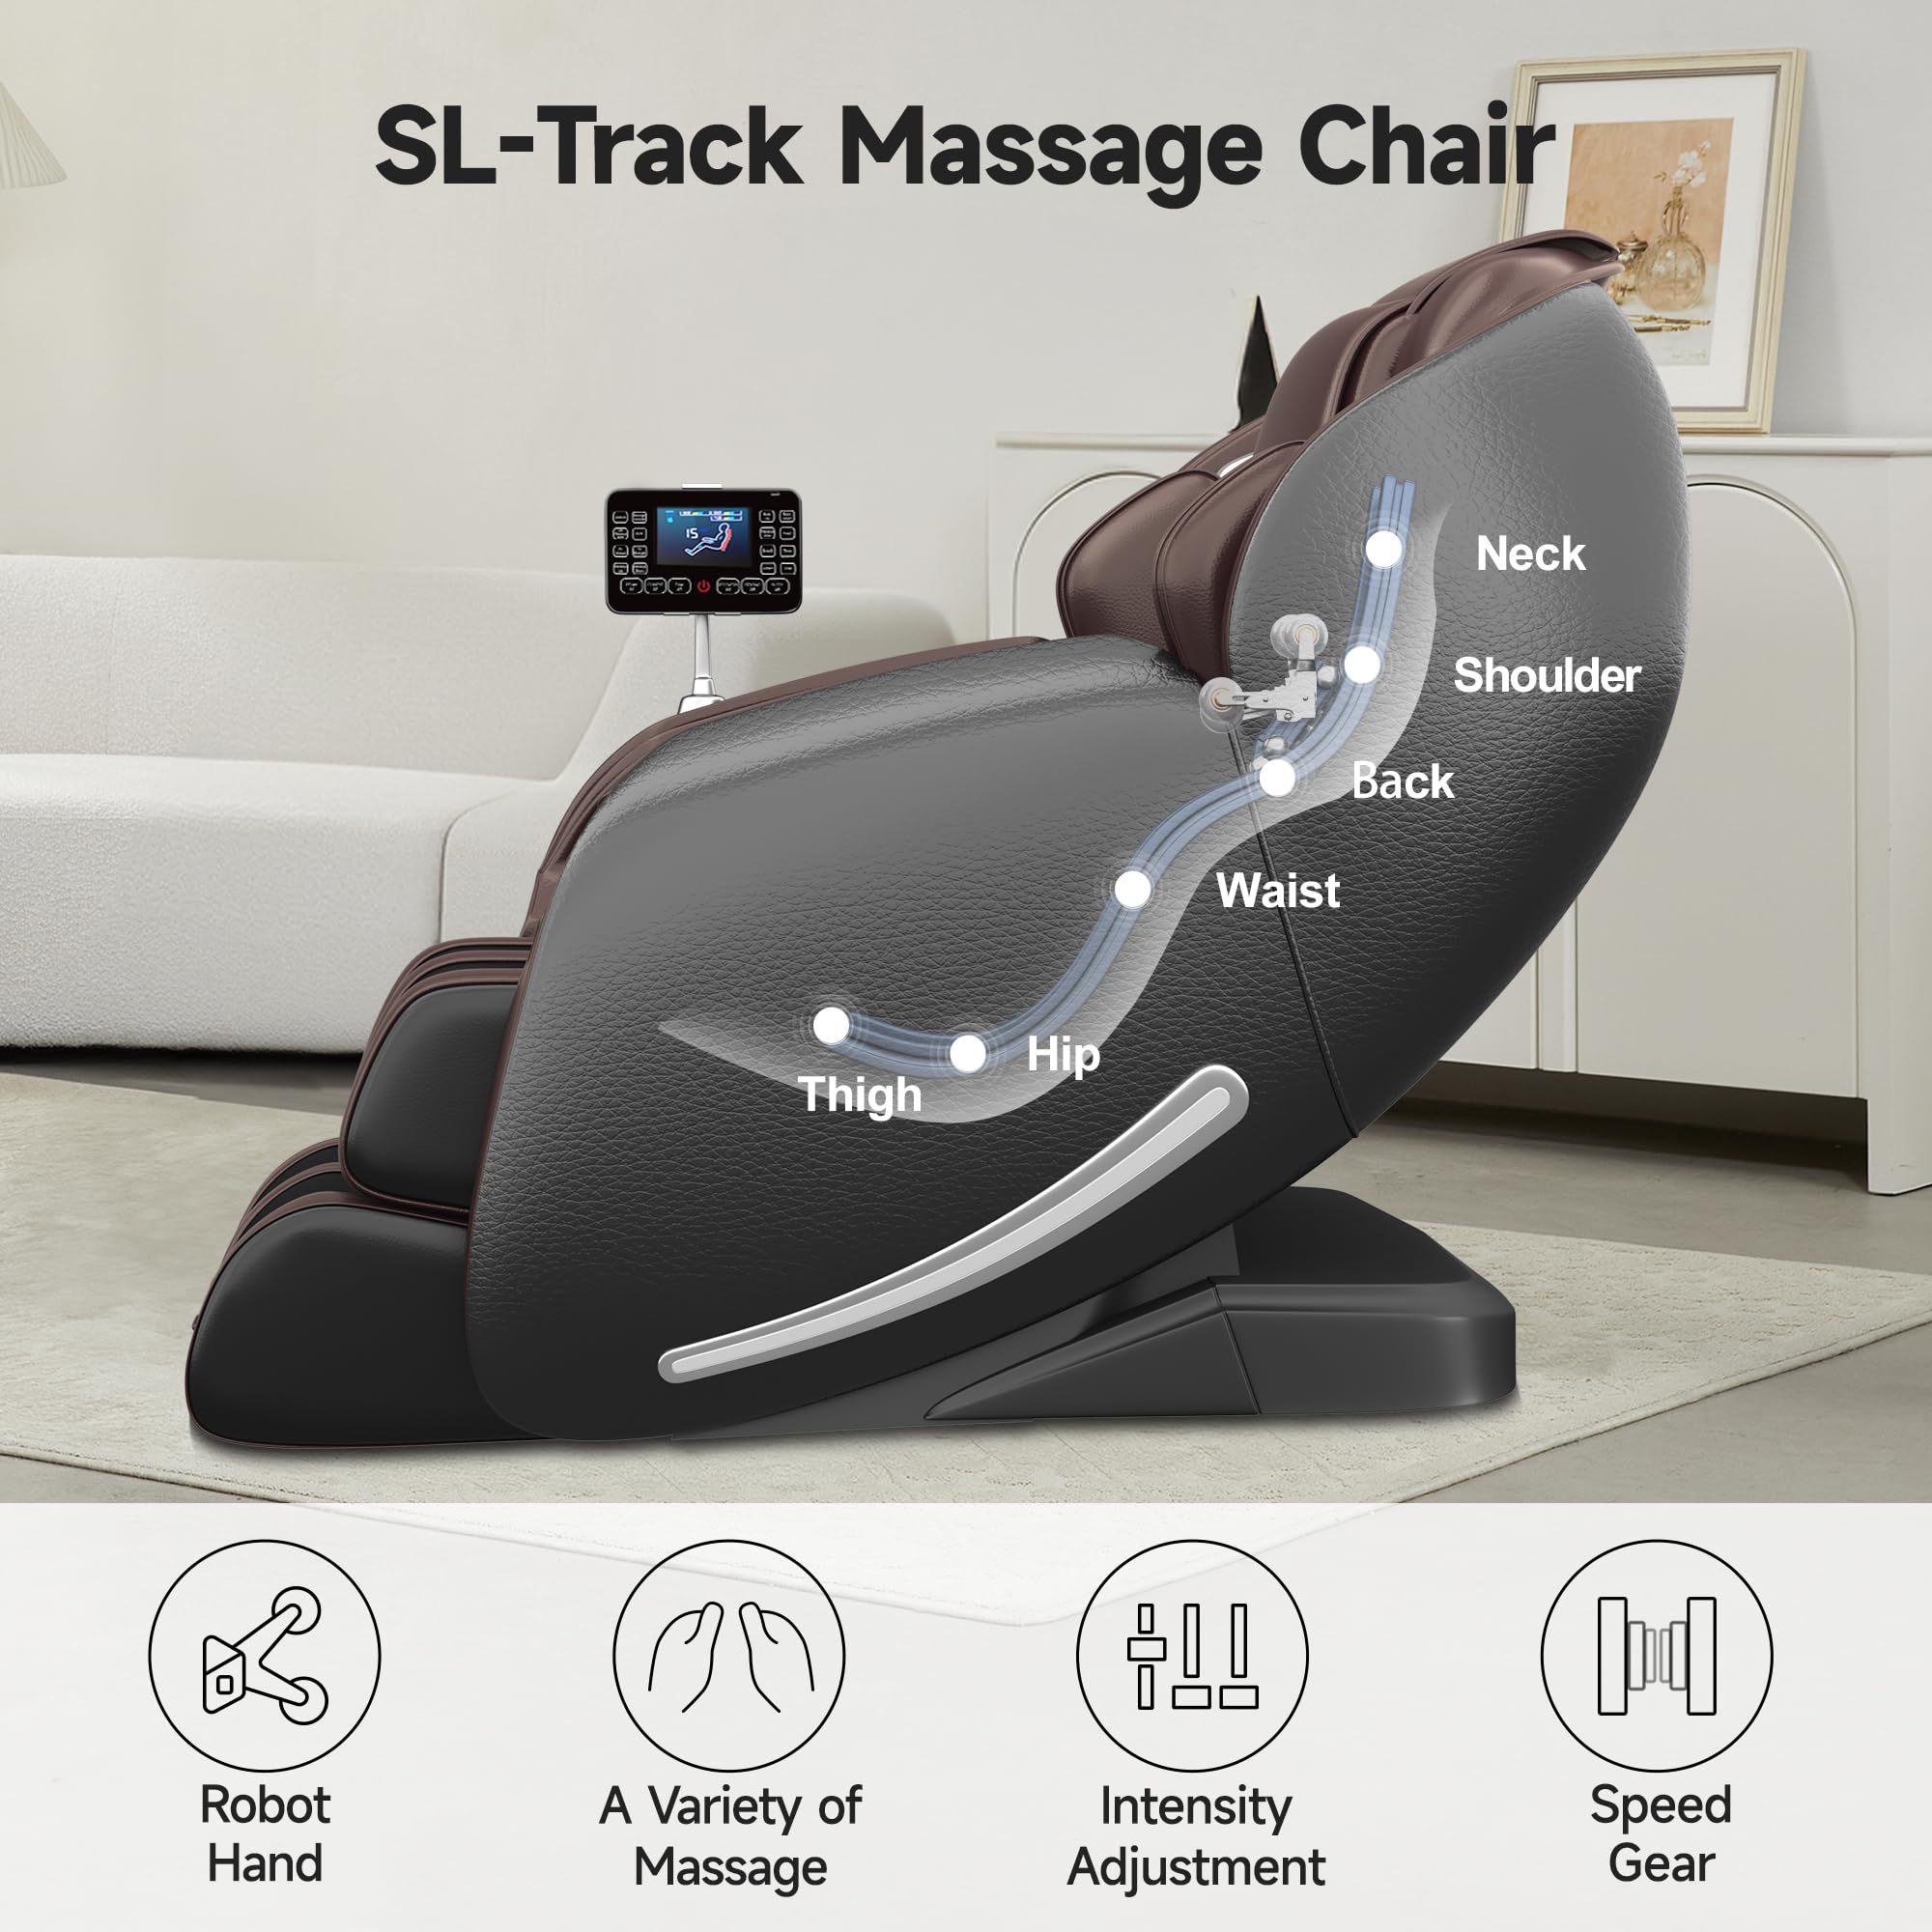
Design the backrest to follow the natural curve of the spine, like an S track massage chair or L track massage chair, to ensure the massage mechanisms work effectively from the neck to the lower back. Use high-resilience foam for the backrest and ensure the headrest is adjustable or detachable for various user heights.
Assembling the Frame and Base
Start by assembling the frame and base, ensuring all parts fit well and the chair is stable. Use strong materials and check the weight limit to ensure safety. Sand and smooth all edges to avoid injuries and apply a finish to protect the frame.
Installing the Seat and Backrest
Once the frame is ready, install the seat and backrest securely. Choose high-density foam and strong upholstery for lasting comfort. Measure and cut the foam and fabric carefully, stick the foam to the frame with strong glue, and use a staple gun or tacks for upholstery.
Incorporating Massage Mechanisms
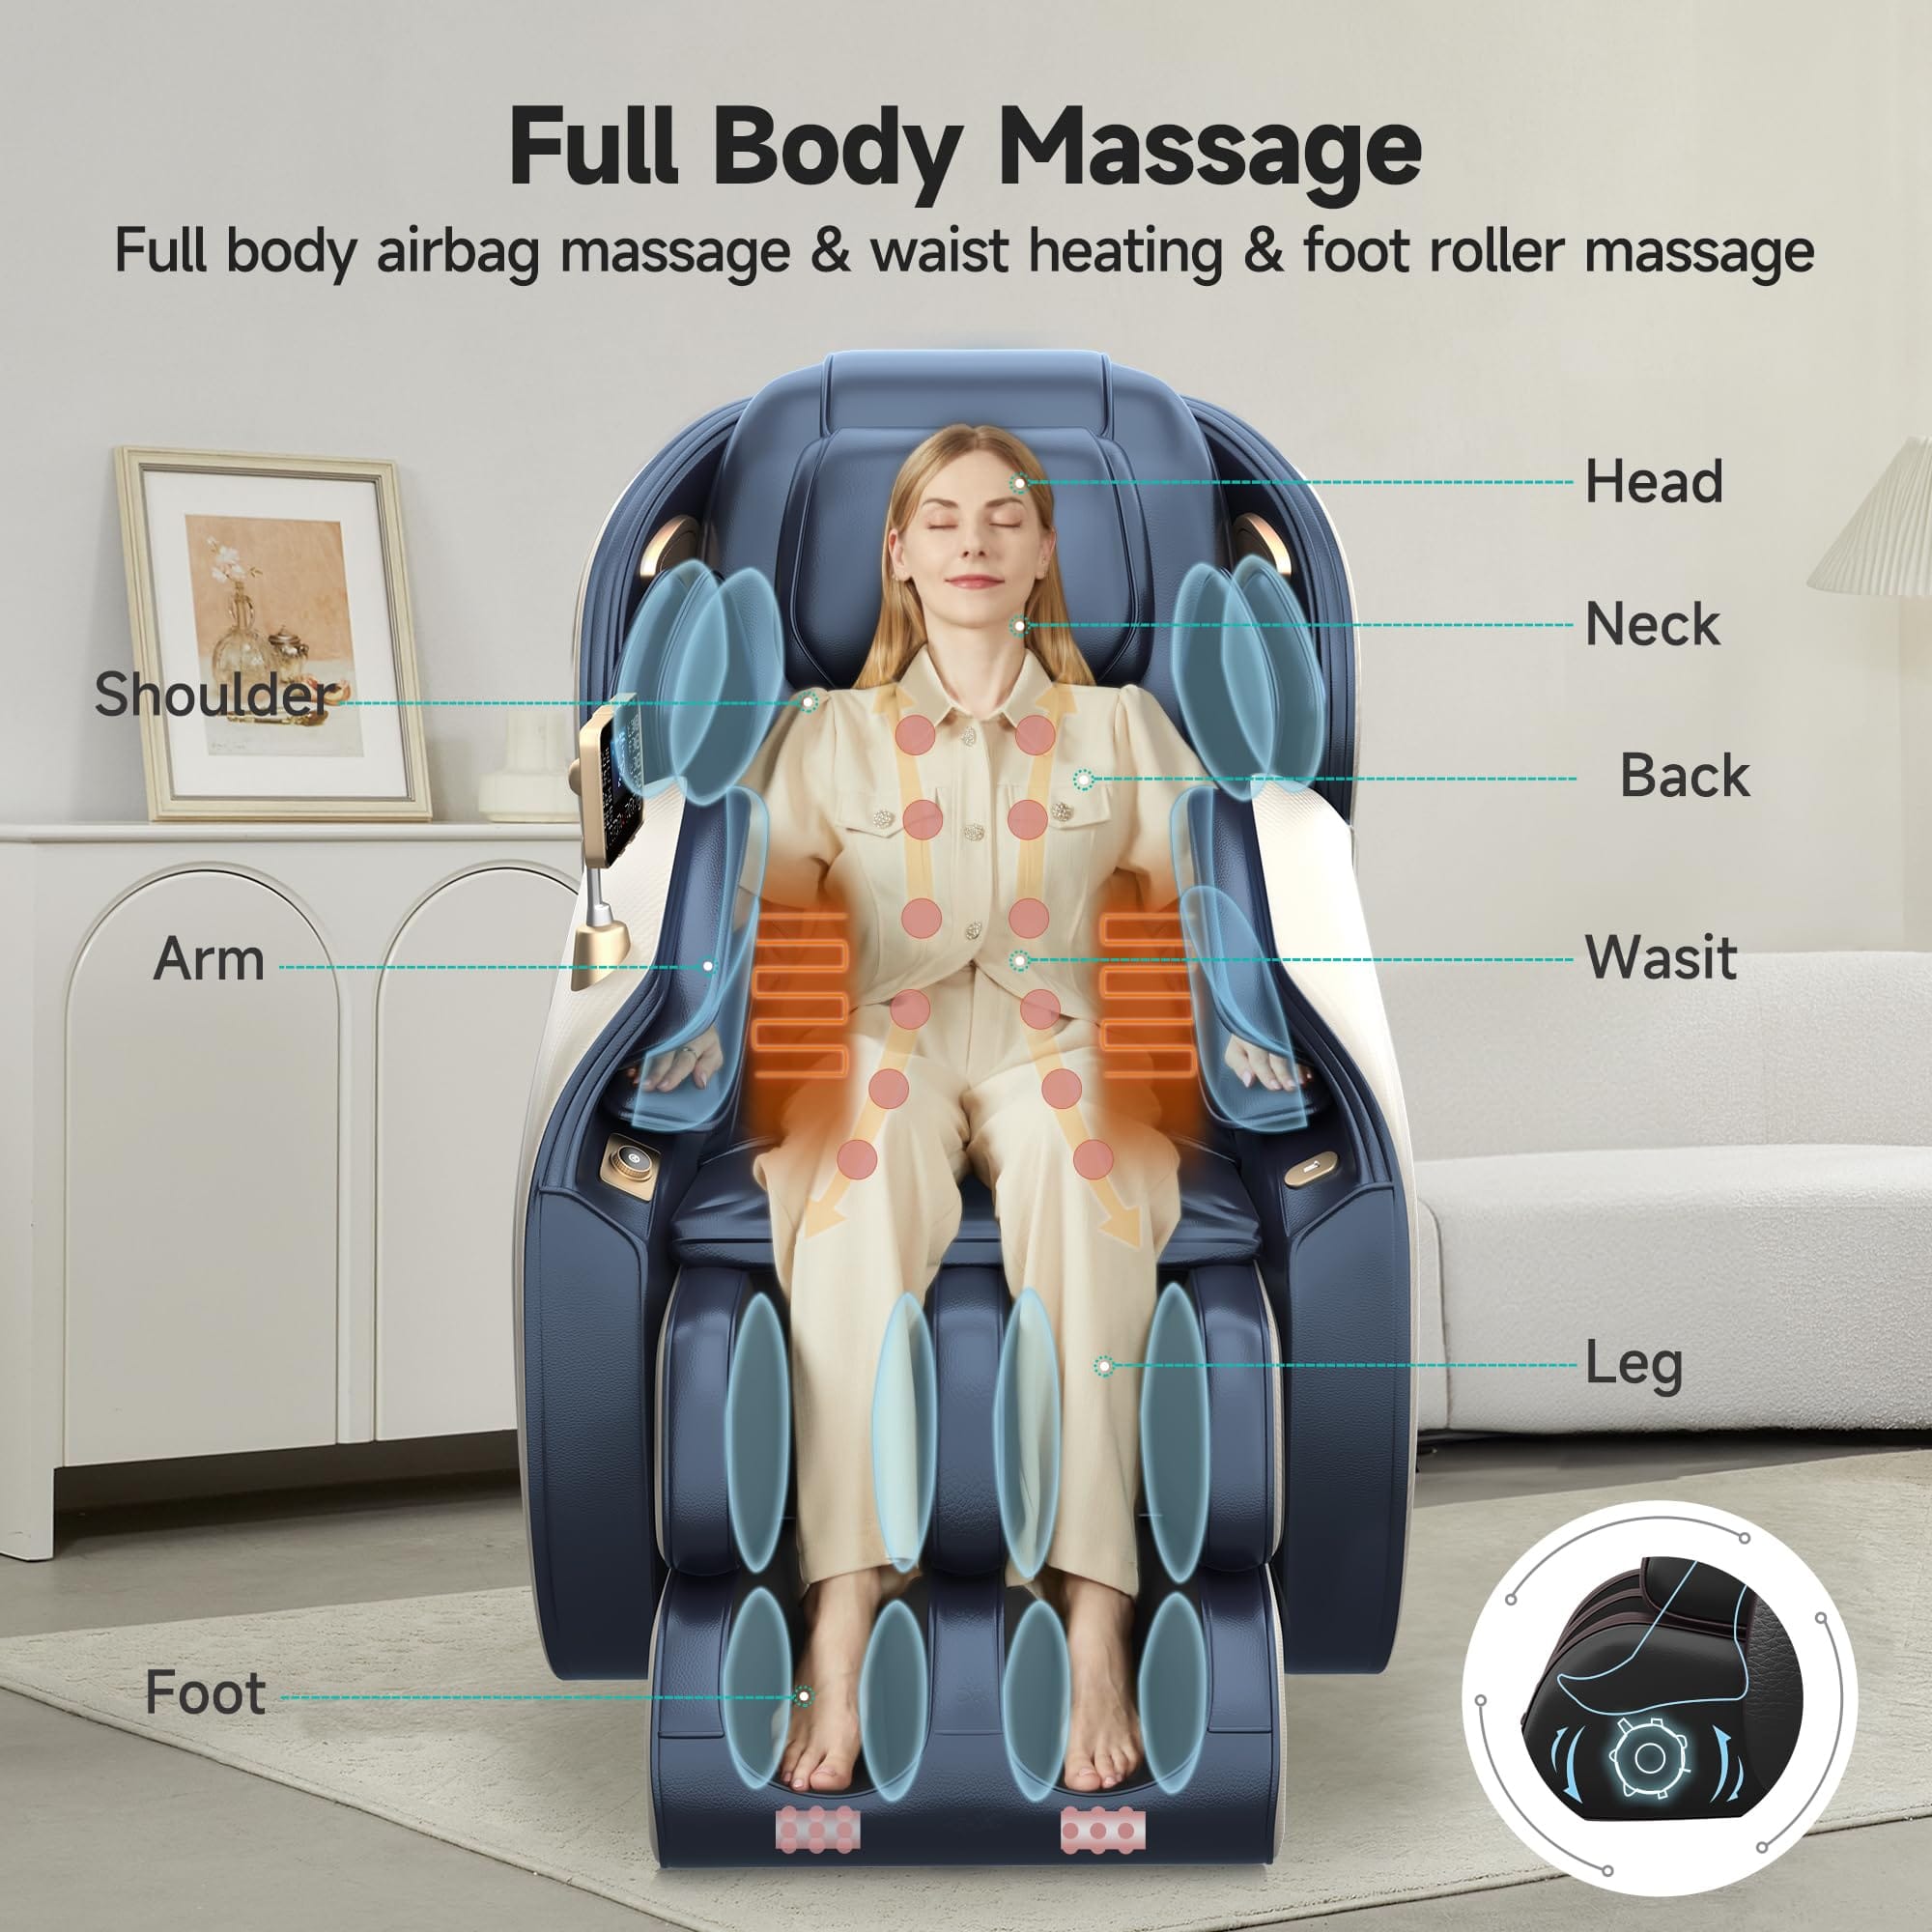
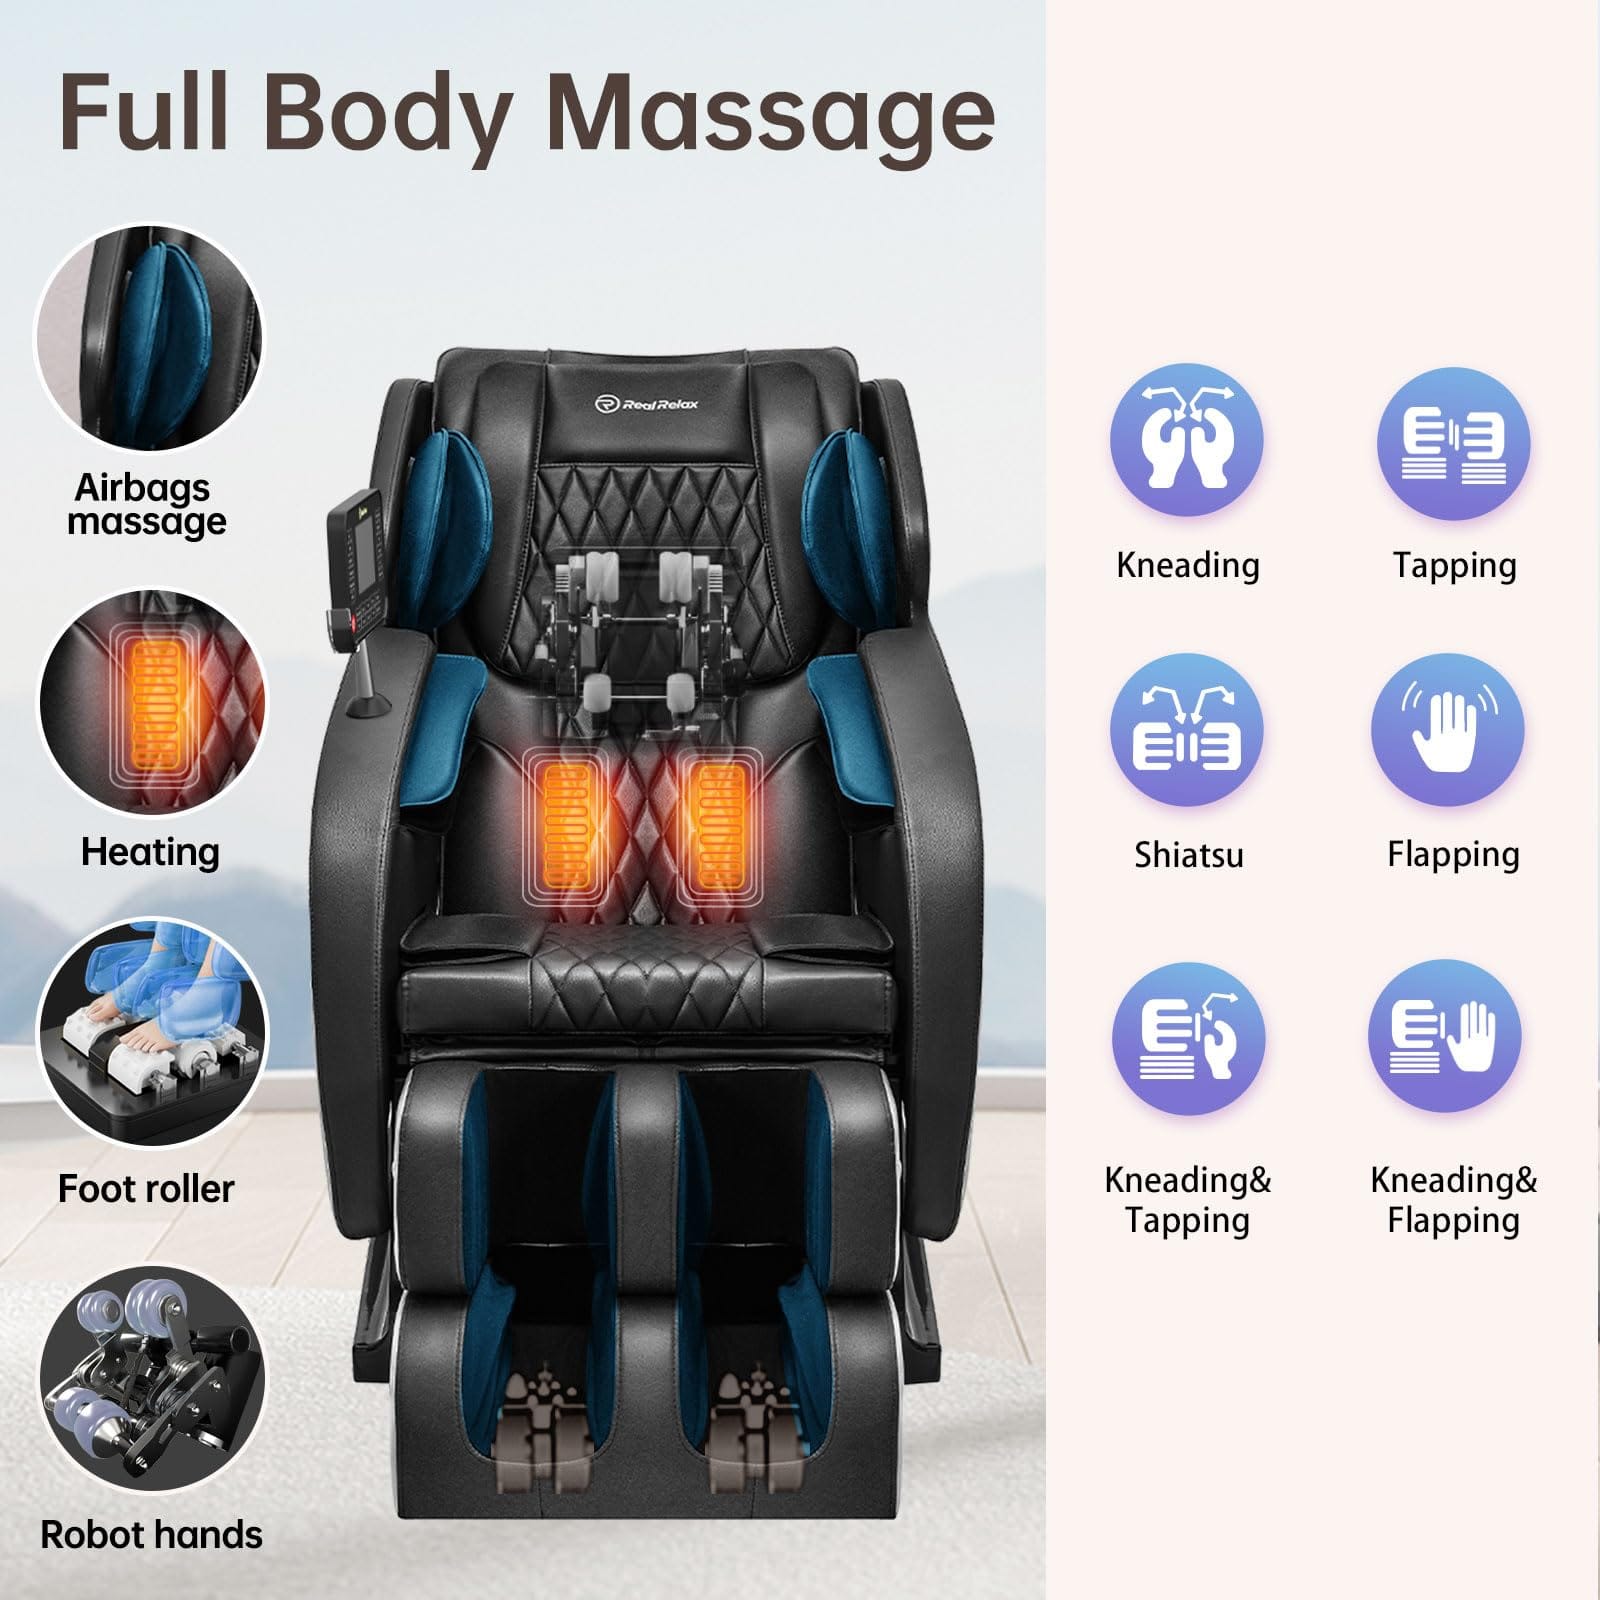
Adding massage features is the final step. You can add rollers for a real massage therapist's touch, airbags for compression and improved blood flow, and vibration motors for a calming massage. Ensure they are placed correctly and attached safely for the best results.
Upholstering the Chair
Choose a high-quality upholstery fabric that complements your living space and is easy to maintain. Upholstering involves carefully cutting and fitting the fabric over the frame, ensuring a snug and neat finish.
Wiring and Electronics Installation
Now, tackle the electrical parts. Connect the massage motors and controllers, set up the power supply, and ensure everything is safe. Follow the wiring instructions carefully to connect the motors and controllers safely and correctly.
Testing and Adjustments
Test the chair's stability, the functionality of the massage mechanisms, and the comfort of the seat and backrest. Make any necessary adjustments to enhance the chair's comfort and ensure all electrical parts are safe.
Maintenance and Care
Clean and maintain your chair as the maker suggests. Use the right cleaners for the upholstery and parts, keep moving parts well-lubricated, and store your chair in a cool, dry place when not in use.
Refer to article: How to Maintain a Real Relax Massage Chair?
One of the advantages of building your own massage chair is the ability to customize it to suit your personal preferences. You can adjust the massage settings, add heat therapy, aromatherapy, speakers, or USB ports for more comfort and convenience.
Building a massage chair at home is a complex project that requires patience, precision, and a good understanding of both carpentry and electronics. However, with careful planning and attention to detail, you can create a personalized relaxation experience tailored to your specific needs and preferences.


